
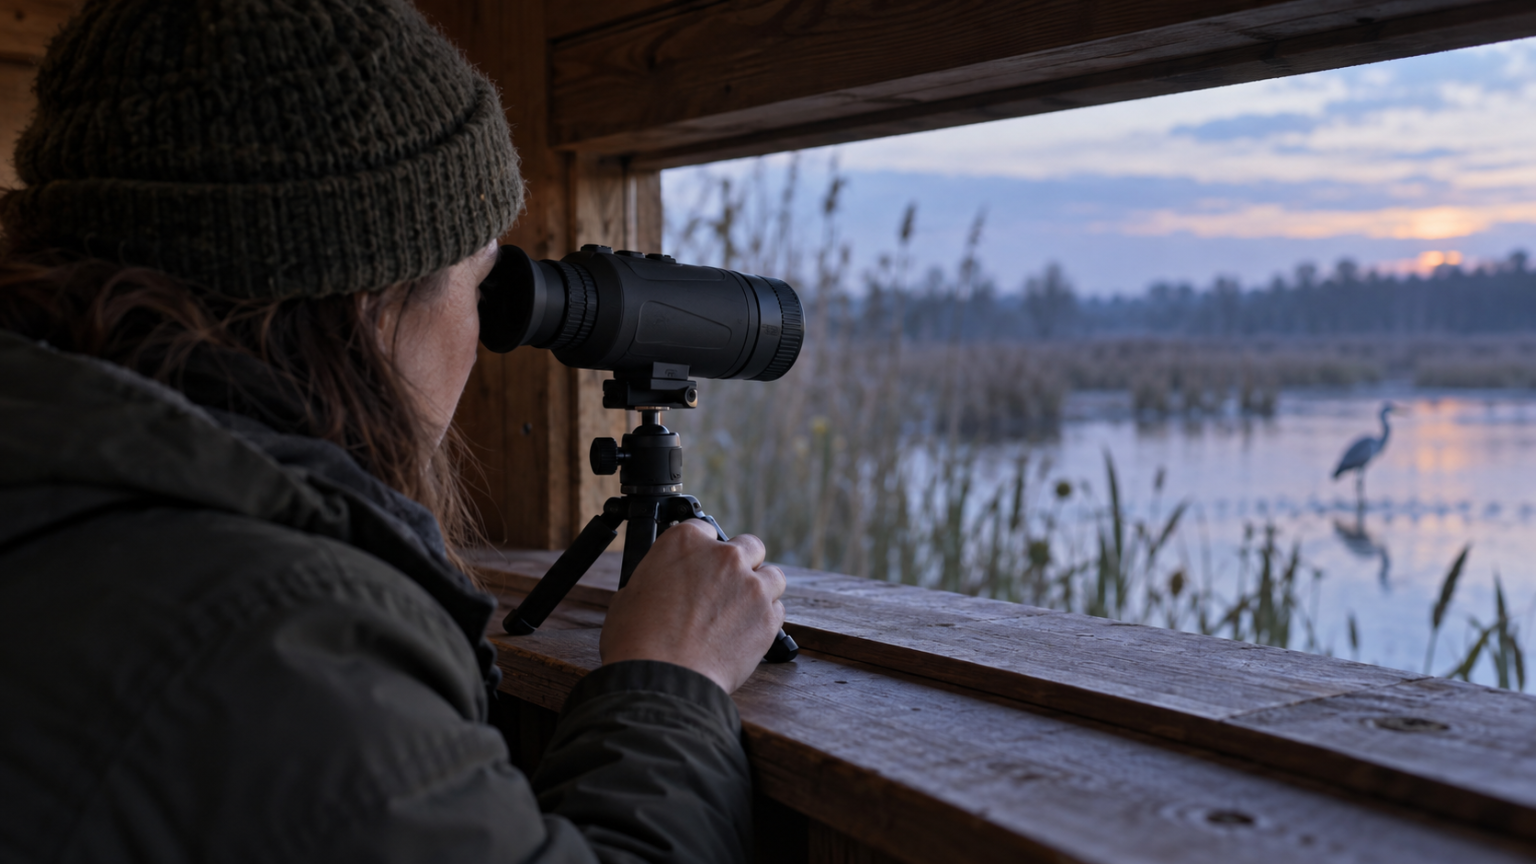
Recording birds with a thermal monocular is most useful when the clip preserves the observation, not just an enlarged bright spot. Aim for a steady view, recognizable context and enough time to show movement or behavior. Keep the original file and note what you could confirm independently, because thermal footage may show a bird without recording the features needed for a confident species identification.
A little preparation at home makes this much easier. Before relying on the recorder during an outing, save a short test, transfer it and watch it on the screen you normally use for review.
Establish what your device actually records
Recording features vary by model. Check whether the monocular supports photographs, video, audio and a direct file-transfer method. Find out how it signals that recording has started and how to stop and save a clip correctly. A view appearing on the display does not prove the recorder is running.
Also establish whether the saved file includes the same overlays you see live. Menus, status icons, range readings or a picture-in-picture view may be handled differently. Record an ordinary test scene, change a setting and inspect the saved result rather than assuming it contains every live display element.
For a concrete specification example, the Pulsar Oryx LRF XG35 manual lists a 640×480 detector and 1024×768 photo/video output. Those larger output dimensions do not mean the detector captured 1024×768 independent scene samples. Our thermal resolution guide explains the distinction.
An ordinary observation video is also not automatically a radiometric temperature record. Use temperature information only if the exact device and file format are specified to provide it.
Prepare a repeatable recording setup
Before leaving, check the device date and time, available storage, battery condition and the controls for starting and stopping. Confirm that you can recognize a recording indicator without opening a menu that obscures the bird.
Then decide on a familiar starting view. Use the normal optical image or a modest digital enlargement, a palette you understand and settings that show the surrounding habitat clearly. Do the focus and calibration setup before judging a distant subject’s detail.
If audio is supported, make a test that includes quiet field sound and your normal handling. Determine whether rubbing the housing, speaking beside the device or pressing controls overwhelms the useful sound. If no audio is recorded, put vocal observations in separate notes and make that distinction clear later.
For a long outing, check how your actual recording routine affects power use. Our thermal battery-life guide explains why a quoted maximum runtime is not a universal promise for continuous recording and wireless use.
Start wide enough to explain the sighting
When you find a possible bird, establish where it is in the scene before filling the display with it. A branch fork, bank edge or clear gap gives you a way to relocate the subject and explain its position during review.
Hold a steady contextual view, then increase enlargement only if it helps. If the original clip shows nothing beyond a heavily enlarged patch, a reviewer has fewer clues about its size, surroundings and movement. The best framing preserves useful evidence rather than making the subject occupy the most pixels in the saved file.
If safe and practical, support your elbows or use the mounting arrangement approved for the device. Keep the optic clear of abrasive surfaces and avoid turning an awkward support into a risk of dropping it.
Give behavior time to happen
Record a settled sequence rather than stopping after the first recognizable frame. The Macaulay Library video guide emphasizes stable footage, useful clip length, accurate metadata and preserving original sound. Its suggestions are a useful reference for natural-history recording, although a thermal file still needs an honest description of what it shows.
Wait for a change in posture, a short movement or another natural behavior. That sequence can reveal more than a single thermal outline. Avoid constant panning between subjects; finish one useful observation before beginning another where possible.
If you adjust focus, palette or zoom during a clip, note what you changed. A sudden alteration in the displayed shape may come from your settings rather than the bird. The white hot vs black hot guide explains how presentation affects interpretation.
Keep a short observation record
| Note | Why it helps later |
|---|---|
| Date, time and general habitat | Places the footage in an observation context |
| Exact device model and optical/digital setting | Explains how the view was formed |
| Whether sound was recorded | Separates captured audio from remembered calls |
| Behavior seen in the clip | Directs attention to observable evidence |
| Details confirmed with conventional optics | Distinguishes visual identification from a thermal impression |
| Remaining uncertainty | Prevents a tentative observation becoming a definite claim during editing |
Keep precise location information privately when a sensitive bird or site could be affected by public attention. Record what you need for your own documentation without assuming every detail belongs in the shared caption.
Transfer and review the original file
Use the model’s documented cable, storage or wireless workflow. A charging connection is not proof that file transfer is available in the same mode. Keep the original filename or make a record of it when copying files into an organized folder.
Open the transferred clip and check its length, playback, sound where applicable and the moment you intended to preserve. Confirm the copy before deleting anything from the device. A second copy in another appropriate location is useful for records you would be disappointed to lose.
For sharing, work from a duplicate. Trim empty or unusably shaky sections, but keep enough surrounding sequence to explain the behavior. Label any slowed playback and avoid processing that invents edges or conceals uncertainty. If stabilization distorts the bird’s outline, use the original version instead.
Match the caption to the evidence
A caption such as “unidentified small bird moving along the hedge, thermal video” is useful when that is what you can establish. A confident species label needs supporting features, sound, a conventional view or other defensible evidence. Our guide to interpreting thermal animals explains common sources of overconfidence.
The thermal vs binoculars comparison for birdwatching shows how a second view can add ordinary plumage details that thermal does not supply. If you cannot confirm the bird, keep the uncertainty visible.
Before submitting footage to an archive, follow its current format, identification and metadata requirements. The existence of a general video-upload facility does not settle whether an ambiguous thermal clip is appropriate for a particular record.
Record without changing the bird’s routine
The ABA Code of Birding Ethics is relevant to thermal filming as well as conventional photography. Avoid disturbing nests or roosts, and consider what may happen if a precise location becomes public. A thermal view does not make an approach invisible to the bird.
Use the thermal birding routine to keep observation deliberate. After the outing, follow the thermal cleaning and storage guide and check that important recordings are copied. If recording is part of a purchase decision, compare the workflow alongside the optics in our thermal monoculars for birding guide.

Elliot Vantage is an optics enthusiast and the editor behind Optic Horizon, covering monoculars, binoculars, thermal optics, and related outdoor gear. He researches manufacturer documentation, optical specifications, product features, pricing, and use-case differences to help readers understand their options and choose equipment that fits their needs.