
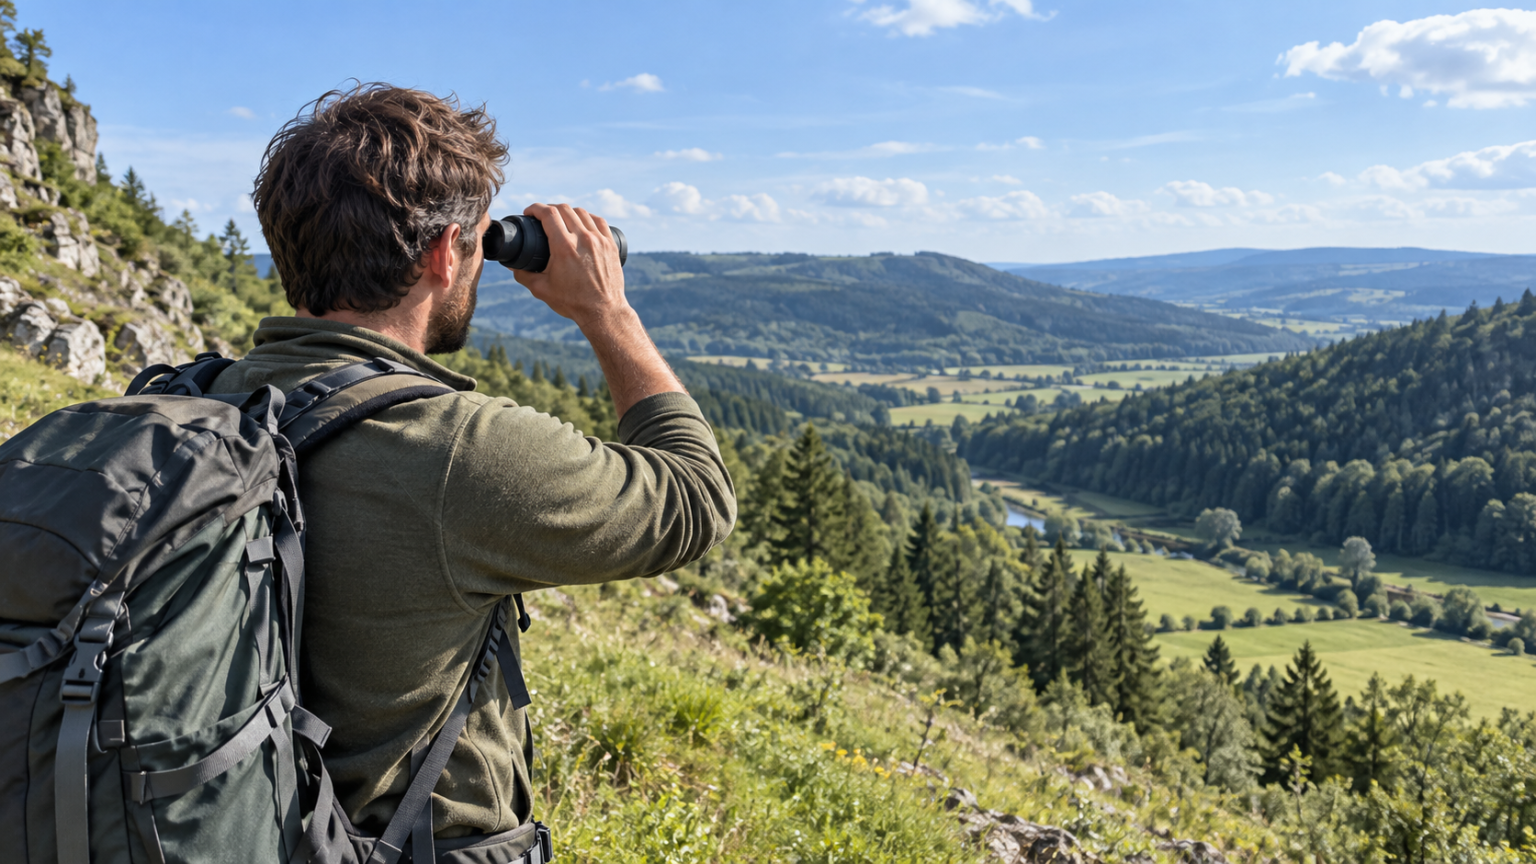
Yes, you can use a thermal monocular in daylight when the manufacturer specifies daytime operation. It forms an image from infrared energy rather than relying on visible darkness. However, daytime capability does not mean you can point it at the sun, ignore its operating-temperature limits or expect the same animal-to-background contrast throughout the day.
Treat daylight use as an ordinary observation mode with its own conditions. The device may work perfectly while the scene becomes harder to interpret because sun-warmed surfaces, changing shade and the animal itself produce a different pattern from the one you saw the night before.
Why visible light is not the deciding factor
A conventional monocular gathers visible light, so the available illumination strongly affects what you can see. A thermal monocular detects infrared radiation in the band its detector and optics are designed to use, then presents the result on an electronic display.
FLIR’s explanation of how thermal cameras work describes that conversion from infrared energy into an image. Daylight does not switch the process off. Our guide to how thermal monoculars work explains the complete viewing chain.
The thermal picture still represents a different type of information from the view through binoculars. A colored palette does not reveal the visible color of a coat, bill or feather. That matters when the daytime task is identification rather than simply finding a subject.
Check the maker’s daylight statement and warnings together
Read both the intended-use section and the precautions. For example, the Pulsar Axion Compact XG35 manual describes day and night use while warning against pointing the objective at intense energy sources such as the sun or laser-emitting equipment.
Those instructions are compatible: ordinary daytime observation is not the same exposure as aiming at an intense source. Follow the exact manual, including cap and storage guidance, rather than borrowing a claim about a different detector or camera.
When scanning toward a bright horizon, choose a direction that keeps the sun away from the objective’s pointing path. Take care while turning, putting the device down or leaving it in a vehicle, when its direction is easier to overlook. A daytime observation plan should include where the optic rests between views.
Why the picture changes as the ground warms
Sunlit rocks, exposed soil, walls and shaded vegetation do not all exchange heat at the same rate. Over an outing, the background can become more varied. A conspicuous thermal spot therefore needs interpretation rather than an immediate assumption that it is an animal.
Picture an empty field with a sunlit stone near a shaded hedge. The stone may stand out strongly, while an animal along part of the edge may have a less distinct outline than expected. Change your viewing angle or wait for behavior before assigning meaning to the display pattern.
This is one reason to compare the same location at different times. Make a mental record of fixed features while they are easy to recognize, so an unfamiliar-looking warm patch later does not automatically become a new wildlife sighting.
Does “thermal crossover” happen at a fixed time?
The term describes conditions in which a subject and its background have similar apparent thermal characteristics, reducing contrast. Research on target detection over the diurnal cycle examines this challenge; it is not a timetable guaranteeing that every bird or animal disappears from thermal view at a particular hour.
For field observation, the useful question is whether your subject separates from its immediate background now. Shade, weather, surface properties and recent heating all make a rigid “day is bad, night is good” rule unhelpful. Observe the scene you have rather than relying on the clock alone.
Use a daylight setup that preserves context
Begin at the normal optical view with little or no extra digital enlargement. Identify recognizable landmarks before studying the smaller contrasting shapes. Check objective focus for the distance you are examining and set the eyepiece so the display is comfortable to read.
If the image looks uneven or soft, follow the thermal focus and calibration sequence. Calibration and focus can correct setup problems; they cannot restore a body outline that vegetation conceals or create strong subject contrast where it is absent.
Try a familiar palette before switching among several color schemes. The white hot vs black hot guide explains why a change in presentation can help your interpretation without adding captured detail. Keep the comparison on the same scene so you can tell what the palette actually changed.
Daylight creates useful opportunities for confirmation
During the day, you can often inspect a thermal detection with conventional optics. Use a landmark to transfer the position, then look for visible shape, markings or movement. This is especially valuable for birding, where plumage pattern can be essential.
The thermal vs binoculars birdwatching comparison explains how the two views complement each other. If a thermal spot cannot be matched confidently to a visible subject, leave that uncertainty in your notes.
Daylight also makes it easier to learn the thermal appearance of an area. Compare an exposed path, a shaded bank and an ordinary wall while you can see their boundaries directly. Keep this as familiarization, not a way to infer exact surface temperature from an observation monocular that is not specified for temperature measurement.
Check the conditions that daylight does not remove
| Condition | What to check | Useful next step |
|---|---|---|
| Strong sunshine | Objective direction and the maker’s intense-source warnings | Choose a safe scan direction and protect the optic between views |
| Hot weather | Device and battery operating limits | Move the equipment into permitted conditions |
| Wet or hazy air | Reduced viewing-path detail | Adjust expectations and inspect a nearer reference scene |
| Observation through a vehicle window | The barrier in the thermal path | Use a permitted unobstructed observation position |
| A bright shape without clear anatomy | Whether a fixed surface explains it | Wait for behavior or confirm with visible-light optics |
Weather still matters, as explained in thermal viewing in fog, rain and humidity. Glass and other barriers also retain their limits in daylight; our see-through guide covers what the instrument is actually observing.
Choose around the scene you normally encounter
A useful daytime thermal monocular needs a suitable view, comfortable controls and adequate detail for your task, just as it does at night. Consider how often a thermal search would add information beyond your conventional optic before choosing one.
Start with how to choose a thermal monocular, then compare the budget thermal guide or thermal models for birding. Daytime operation extends when you can observe; careful interpretation determines how useful that extra time becomes.

Elliot Vantage is an optics enthusiast and the editor behind Optic Horizon, covering monoculars, binoculars, thermal optics, and related outdoor gear. He researches manufacturer documentation, optical specifications, product features, pricing, and use-case differences to help readers understand their options and choose equipment that fits their needs.