
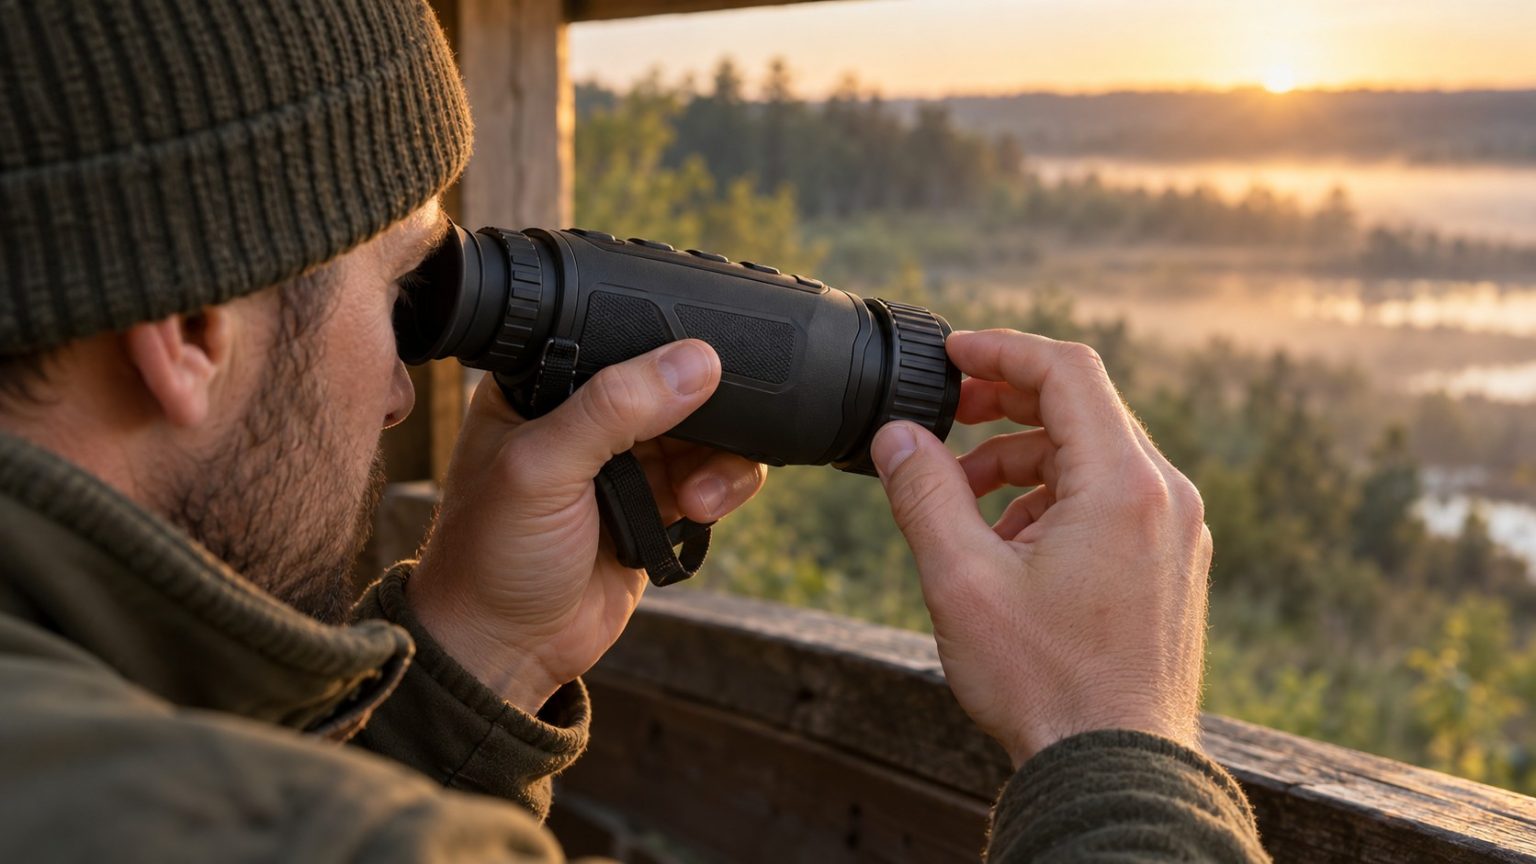
If you are learning how to focus a thermal monocular, separate three jobs: make the display sharp for your eye, focus the scene if the device has an adjustable objective, and perform calibration when the manufacturer requires it. These controls solve different problems. Turning one repeatedly will not necessarily fix the issue addressed by another.
A good starting sequence is eyepiece, objective, then a check of calibration and image settings. The exact buttons and calibration procedure depend on the model. Use this guide to understand the sequence, with your device’s manual open for the controls.
Know which part of the image is soft
Before making changes, look at both an on-screen icon and a stationary object in the scene. The icon is drawn by the device; it is not focused by the front lens. That makes it a useful reference for separating display focus from scene focus.
| What looks wrong | Check first |
|---|---|
| Menu text and icons are soft | Eyepiece position and diopter adjustment |
| Icons are sharp but the distant scene is soft | Objective focus, if adjustable |
| Scene shows residual patterns or an uneven background | Manufacturer’s calibration procedure |
| Only a very near subject is blurred | Minimum focusing distance |
| Farther objects lose contrast in mist | Atmosphere, rather than focus alone |
These checks narrow the possibilities. They do not establish that every problem is user-adjustable or that a particular unit is undamaged.
1. Set a comfortable eye position
Remove the cap, power on the viewer and put the eyecup in the position recommended for use with or without glasses. Hold the device naturally rather than pressing it hard against your face.
If the view repeatedly blacks out or you can see only a small portion of the display, adjust your eye position before chasing sharpness. A focus control cannot center your eye behind the eyepiece.
Choose an ordinary stationary scene for setup. Follow the manufacturer’s instructions about exposure to the sun or other intense sources; a thermal viewer should not be treated as a safe solar-viewing instrument.
2. Adjust the eyepiece diopter using an icon
Open a menu or use a clear status symbol. Slowly adjust the eyepiece diopter until that symbol looks as crisp as you can comfortably make it. Avoid judging this setting from a low-contrast patch of grass in the thermal scene.
Once the interface is sharp, leave the diopter alone while adjusting scene focus. Your eye needs a clear view of the electronic display; the objective needs a suitable focus setting for the distance outside.
The Pulsar Axion Compact XG35 manual provides a model-specific example of eyepiece adjustment, objective focus and separate calibration modes. Its control names should not be assumed to match another brand or firmware version.
If another person uses your monocular, their eyepiece setting may differ. Recheck the interface when it comes back to you, rather than assuming the objective has become difficult to focus.
3. Focus the objective on the scene
If your model has an adjustable objective, choose a stationary feature at roughly the distance you intend to observe. Turn the designated focus control slowly while watching an edge or textured feature with enough thermal contrast to be useful.
Pass gently through the sharpest point and return to it. Keep your hand supported so movement does not hide the difference. Then inspect a second object at a similar distance to check that the first target was suitable.
Do not force a ring beyond its stop. Some models have a fixed-focus design and no objective adjustment for the user. A housing part that happens to rotate is not automatically a focus ring; identify the controls in the manual.
When switching from a distant field to a nearby hedgerow, refocus if required. If the new subject is inside the device’s stated minimum distance, move to a suitable safe position or choose a farther subject. No amount of turning can guarantee sharpness outside the specified range.
4. Understand what NUC and calibration do
NUC stands for non-uniformity correction. In practical use, calibration helps the thermal system correct differences in its response so the image is more consistent. It is not the same task as bringing a distant scene into optical focus, and it is not a temperature-accuracy certification.
Depending on the design and mode, calibration may be automatic or user-triggered, with an internal shutter or a covered-objective procedure. A brief pause or click may be normal for the model. Read the instructions rather than treating every interruption as a fault.
In the Axion manual cited above, manual calibration requires the lens cover to be closed, while its semi-automatic and automatic modes use an internal shutter. That is a specific example, not a universal button sequence. Follow the procedure for the exact model and selected mode.
If a strange image follows an incorrectly performed calibration, use the manual’s recovery procedure. Do not improvise by repeatedly switching modes without understanding whether the objective should be covered.
Our explanation of how thermal monoculars work gives more context for the detector and processing behind the view.
5. Keep display settings from hiding your result
After focus is set, choose a familiar palette and a comfortable display brightness. Start with moderate processing settings rather than immediately maximizing every slider.
Menu labels are not standardized. One product may offer display brightness, scene contrast and enhancement as separate controls; another may combine settings into preset modes. Understand what a control changes before deciding it has improved focus.
A strong contrast setting can make an outline more obvious while reducing subtle background information. Digital zoom makes the displayed subject larger, but does not add native detector samples. Our guide to thermal resolution explains that distinction.
For a useful comparison, keep the same scene and change one setting at a time. The white hot vs black hot guide provides a simple way to compare palette presentation without confusing it with focus.
When a sharp menu and careful focus still do not help
Check the exposed objective for obstruction, droplets or condensation, using only the care method recommended for its coating. Then compare a nearby stationary feature with the more distant scene.
If the near feature is clear but distant subjects are flat in fog, the problem may be environmental. The guide to thermal monoculars in rain and humidity explains why focus and calibration cannot recover everything lost along the viewing path.
If objects look tiny rather than optically blurred, you may be reaching a detail limit at that distance. A narrow or wide view also affects how large they appear in the scene; see thermal field of view and base magnification before deciding a larger zoom number is the solution.
A persistent point that stays in the same screen position needs a different check from general blur. Our thermal monocular dead pixel correction guide explains how to document it, consult the exact model’s procedure and decide when to contact support.
Persistent faults on an easy scene, unexplained display artifacts or controls that do not behave as documented belong with manufacturer support. Avoid dismantling the housing or inventing a repair procedure from image settings.
Build a setup you can repeat
Before an outing, confirm that the interface is sharp, the objective focuses normally if adjustable, and you know how your selected calibration mode behaves. Practice with gloves if that is how you will use the viewer.
When choosing equipment, handling deserves a place beside detector specifications. Compare the budget thermal monocular guide for accessible starting points, or the guides for coyote observation and birding for different priorities.
Set the display for your eye, focus the scene, and calibrate according to the manual. Once those jobs are separate in your mind, a soft image becomes a much easier problem to investigate.

Elliot Vantage is an optics enthusiast and the editor behind Optic Horizon, covering monoculars, binoculars, thermal optics, and related outdoor gear. He researches manufacturer documentation, optical specifications, product features, pricing, and use-case differences to help readers understand their options and choose equipment that fits their needs.