
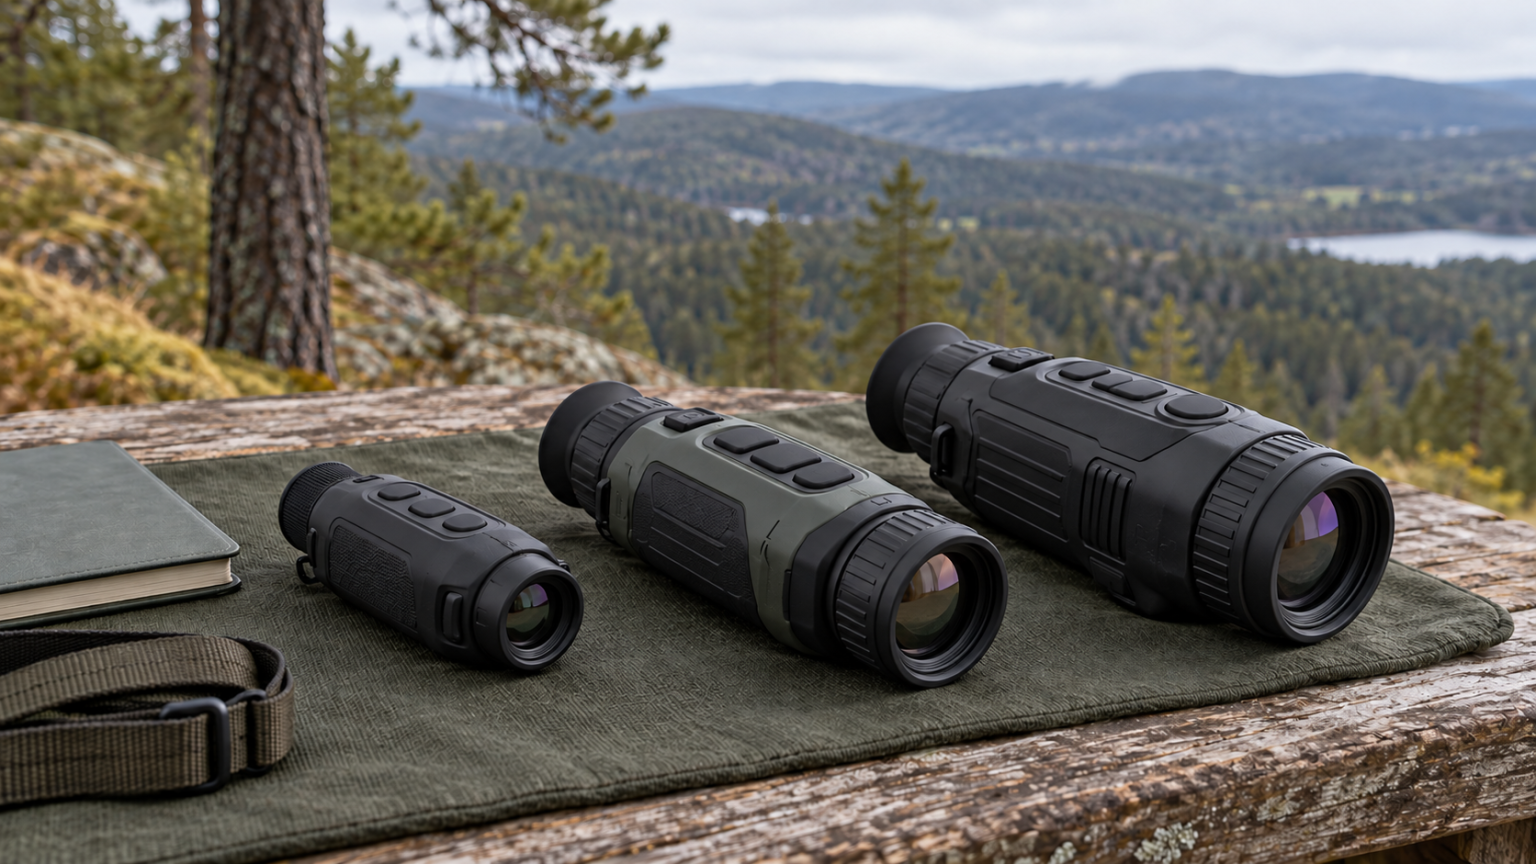
Learning how to choose a thermal monocular is easier when you begin with a specific task. Finding an animal somewhere across an open field, locating a small bird nearby and watching a familiar boundary from one position place different demands on the same equipment. Decide what a useful observation must reveal before comparing advertised range or maximum zoom.
Write one sentence about your normal use: “I want to locate small birds along wooded paths at dusk,” for example. Then list the conditions that make the task difficult. That short description will do more for your shortlist than sorting a store page by its largest specification.
1. Define the observation you need to complete
Separate three possible outcomes: detecting that something is present, recognizing a broad type of subject, and identifying it with adequate confidence. A device may achieve the first without giving enough information for the last.
For wildlife watching, decide how you will confirm an uncertain shape. That might involve a better viewing angle, waiting for movement, using conventional optics while light remains or leaving the observation unconfirmed. A purchasing decision should include that follow-up rather than treating every detected spot as a successful identification.
Our explanation of thermal monocular range develops this distinction. Use it to interpret range claims, then return to the distance and subject that matter on your own outings.
2. Match the viewing field to the terrain
| Regular task | Give priority to | Check before accepting a compromise |
|---|---|---|
| Searching woodland edges | A manageable search field, close focus and quick handling | Whether nearby subjects remain in focus |
| Scanning open ground | Useful detail at the distances you normally observe | Whether the narrower view makes initial searching awkward |
| Walking with occasional stops | Weight, grip and easy access | The complete carried load, including batteries and case |
| Observing from a fixed position | Comfortable sustained viewing and suitable support | How the device mounts and how you operate it while supported |
| Recording birds | A usable recording workflow and enough native detail | What the saved file actually contains |
There is no universal field of view that fits every task. A wider scene can help you find a subject; a different optical combination may place more detector pixels across a distant target. Compare the actual figures and their context using our thermal field-of-view guide.
3. Compare captured detail before enlarged pictures
Record detector resolution separately from display resolution and recording resolution. Those numbers describe different stages in the imaging chain. A detailed screen can present the image neatly without increasing the information captured by the detector.
Then compare optics. Detector dimensions alone do not tell you how many pixels a particular bird or animal occupies at your usual distance. Lens choice and field of view affect that relationship. Avoid treating “640” or another familiar detector label as a complete description of performance.
The thermal resolution explainer handles these comparisons in detail. For a shortlist, write down the native detector dimensions, optical magnification and field of view on the same line. Keep advertised digital zoom in a separate column so it cannot masquerade as additional native resolution.
4. Read sensitivity figures with their definitions
NETD is relevant when differences within a scene are subtle, but compare the maker’s stated measurement basis. A sensor NETD figure and a system-level figure should not be casually ranked as though they describe the same measurement.
Use our NETD guide to check the terminology. Then ask what independent evidence or documented conditions support any comparison you plan to make. A small headline number does not remove the effects of obscuring vegetation, wet weather or poor focus.
If much of your use is in damp conditions, read the fog, rain and humidity guide. Choose with realistic expectations of the viewing path as well as the instrument.
5. Verify the physical fit
Try the controls with the hand you normally use and, where relevant, with gloves. Check whether you can focus without changing your grip, find the main controls without looking, and return to an ordinary view after accidental zoom changes.
Check the eyepiece with your usual glasses if you wear them. Make sure the menu text and scene can both be brought into a comfortable view using the adjustments the device provides. The focus and calibration guide explains why eyepiece focus, objective focus and calibration solve different problems.
Minimum focus deserves its own entry in your comparison sheet. For a concrete example, the Pulsar Oryx LRF XG35 manual lists a 5 m minimum focusing distance. That figure is a specification for this model, not a standard for all thermal monoculars. Check the exact variant you are considering.
6. Decide which extra functions earn their place
A laser rangefinder can be useful when distance is part of the observation. A stadiametric tool estimates distance using an assumed target size and serves a different role. Our rangefinder comparison explains what each reading can establish.
Recording is worthwhile if you will review or document observations. Before paying more for it, find out how to start and stop recording, whether audio is supported, and how files leave the device. Check whether essential functions require a phone and whether you are comfortable with that workflow.
App compatibility and firmware features can change. Verify the current documentation for the exact model and phone platform before making an app-dependent function central to your purchase. For setup and connection problems, see our guide to connecting a thermal monocular to your phone. A feature you will rarely use should not displace the field of view, fit or useful detail you need on every outing.
If you already own a viewer, our guide to updating thermal monocular firmware explains how to check the exact model, follow its supported app or USB method, and verify the result.
7. Plan power and ownership costs
Battery planning includes more than the longest quoted runtime. Check the stated test conditions, the cost and availability of approved spares, charging options and whether a field battery change is practical. Our thermal battery-life guide shows how to compare those details.
Add the accessories your actual routine needs: suitable support, a protective case if none is supplied, and any required approved power equipment. Include service access, warranty terms and the availability of a useful manual. Compare total ownership cost without assuming a cheap generic accessory is compatible.
Use this comparison sheet before ordering
| Question | Model A | Model B |
|---|---|---|
| What exact task and typical distance must it suit? | Fill in | Fill in |
| Detector, optical magnification and field of view? | Fill in | Fill in |
| Minimum focus and comfortable eyepiece fit? | Fill in | Fill in |
| Weight with the battery you will carry? | Fill in | Fill in |
| Runtime conditions, charging and approved spare options? | Fill in | Fill in |
| Recording, rangefinding or app functions you will actually use? | Fill in | Fill in |
| Weather limits, care requirements, warranty and total cost? | Fill in | Fill in |
Fill each entry from the manufacturer’s documentation or mark it “unconfirmed.” Leaving an uncertainty visible is more useful than borrowing a specification from a related model with a similar name.
Move from requirements to a shortlist
For a value-focused purchase, start with the best budget thermal monoculars and reject any option that fails a non-negotiable requirement. The budget-value discussion helps distinguish a deliberate compromise from a false economy.
If your use is more specific, use the coyote-observation buying guide or the thermal birding guide. For birds, also consider whether binoculars or thermal should be your next purchase. Buy for the observation you need to make repeatedly, then treat the extra features as supporting tools.

Elliot Vantage is an optics enthusiast and the editor behind Optic Horizon, covering monoculars, binoculars, thermal optics, and related outdoor gear. He researches manufacturer documentation, optical specifications, product features, pricing, and use-case differences to help readers understand their options and choose equipment that fits their needs.