
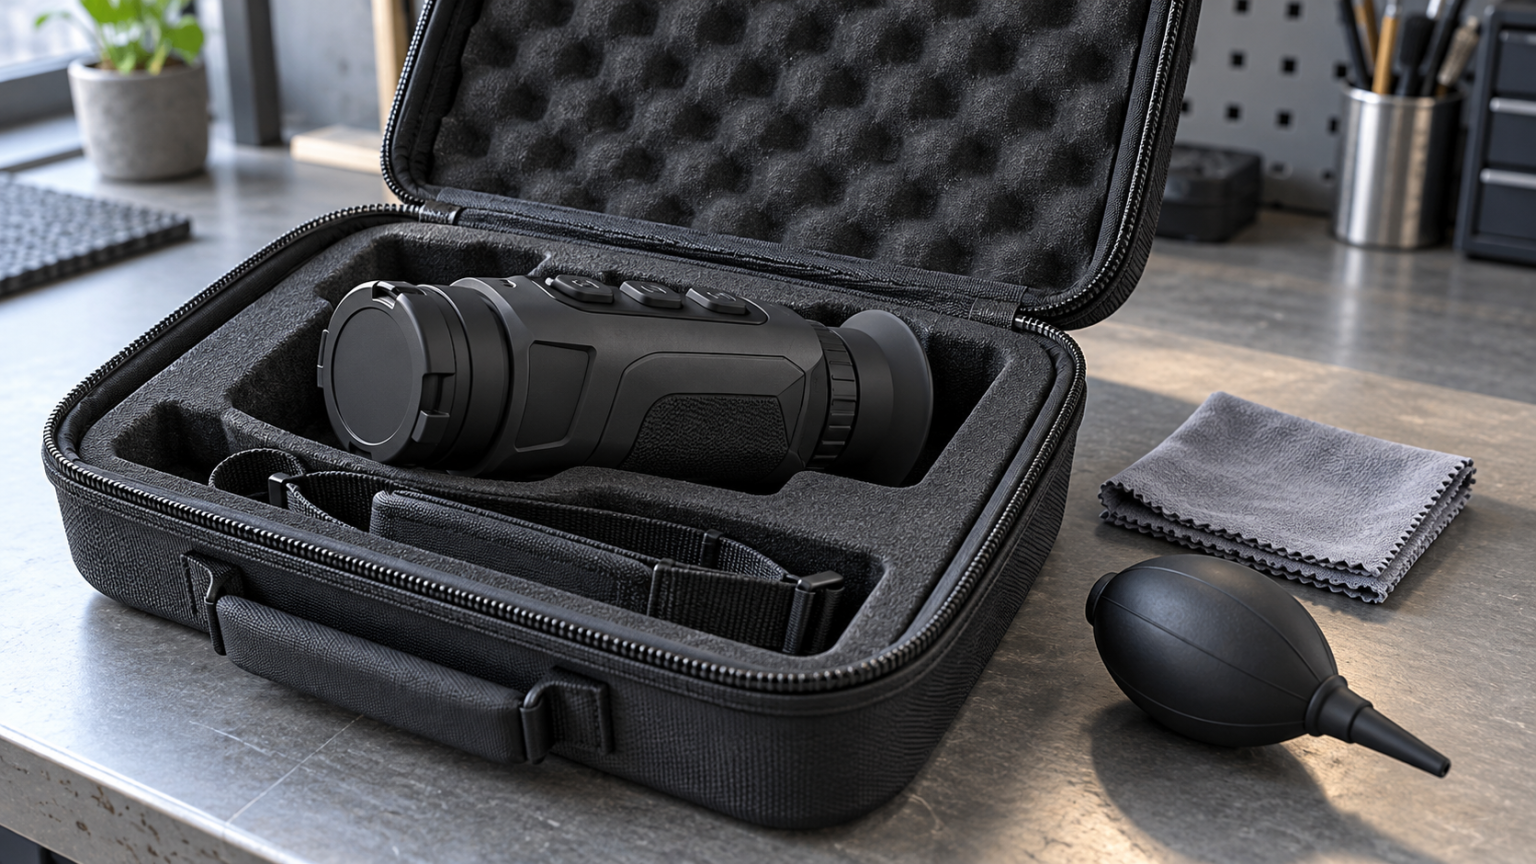
Knowing how to clean and store a thermal monocular means treating its objective, eyepiece, housing and battery compartment as different parts. Use the exact model’s care instructions, remove loose grit before wiping an optical surface and let damp equipment dry before closing it inside a case. Do not assume a cleaner used on ordinary binoculars is automatically suitable for a thermal objective.
Good care is mostly a repeatable routine. Inspect the device after an outing, clean only what needs attention and store it in conditions the manufacturer permits. Avoid turning a minor mark into coating damage through repeated polishing or an improvised solvent.
Begin with the objective’s material and coating
Thermal objectives are designed to transmit the infrared wavelengths the detector uses. They need not use the same lens materials or surface treatments as conventional visible-light optics. FLIR’s guide to infrared camera lenses explains why infrared lens design calls for suitable materials.
The practical consequence is simple: find the cleaning instructions for your thermal model. A general camera-cleaning recommendation may not cover its objective. If you also own conventional optics, keep their procedure separate; our standard monocular cleaning guide addresses that equipment.
RIX’s manufacturer guidance on thermal lens protection and field care emphasizes keeping caps fitted when appropriate, avoiding abrasive wiping and using a suitable cleaning routine. Apply model-specific instructions where they differ from general advice.
Inspect before reaching for a cloth
Switch off the monocular and disconnect external power as the manual directs. Set it on a clean surface in a sheltered place. Look at the objective, eyepiece, housing, cap interiors and accessible ports without taking anything apart.
Ask what you are trying to remove. Loose dust, oily fingerprints, dried water marks and a scratched coating do not call for the same response. If the external surfaces look clean but the image is poor, try the focus and calibration checks before cleaning again.
Examine the housing after a drop or impact. A cracked part, loose component, damaged port cover or changed control feel should go into a service inquiry rather than an energetic cleaning session. Note the exact model and symptom so support can give relevant instructions.
Clean the optical surfaces only when needed
Remove loose dust without dragging it
Use the manufacturer’s preferred non-contact method first. A clean manual blower is a practical option where permitted; keep its tip away from the lens. Do not grind sand across the coating with a dry cloth, glove or shirt.
Keep reusable optical cloths clean and protected. A cloth that has wiped the housing or been dropped onto the ground should not move straight to the objective. Use a separate clean surface for the eyepiece so dirt does not travel between parts.
Use an approved optical-cleaning method
If a fingerprint or mark remains, follow the model’s instructions for cleaning material and liquid. Use gentle pressure and avoid allowing liquid to collect around the lens edge. Do not spray household cleaner onto the objective or experiment with alcohol strength because another product’s manual mentions it.
If the approved method does not shift a deposit, stop. Ask the maker what to do about that particular contamination. Repeated forceful passes can create a permanent problem while the original deposit remains.
Protect the clean surface afterward
Inspect once under ordinary angled light, let any permitted cleaning moisture dissipate and refit a clean, suitable cap. Do not add an ordinary camera UV filter as an improvised protective window. Any optical accessory in the thermal path needs explicit compatibility with the device and its wavelength band.
Give the housing, ports and contacts separate attention
Wipe the exterior with the material and method permitted by the manual. Keep optical-cleaning supplies out of this task. Pay attention to dirt around caps and covers, but avoid pushing debris into openings with a sharp object.
The Pulsar Telos XQ35 maintenance instructions, for example, distinguish exterior care, optical cleaning and battery-contact care. They also specify removing the battery pack for long-term storage. Those are instructions for that device; a monocular with a built-in battery needs its own storage procedure.
Check accessible contacts for moisture, dirt or corrosion without applying an improvised treatment. If corrosion or fluid ingress is visible, contact support before reconnecting power or attempting to charge. Never open a sealed internal battery housing to follow advice intended for a user-removable pack.
Avoid getting insect repellent or other chemicals on the equipment. Apply personal products away from the monocular and handle optical surfaces only with clean hands or appropriate materials.
Dry the monocular and the case after a wet trip
A water-resistance rating describes specified exposure conditions. It does not make storing wet equipment inside closed foam a good idea, and it does not authorize washing every thermal monocular under running water.
Follow the manual to remove surface moisture, then let the device dry naturally in a clean place. Open the empty case and dry its lining separately. Check straps, cap interiors and padded sections that can stay damp after the body looks dry.
If the equipment is cold, allow gradual acclimatization before charging within its permitted temperature range. Do not place it on a radiator, use a hair dryer on the objective or leave it in a hot vehicle to hurry the process. Operating, charging and storage limits may differ; use the relevant figure for the action you are taking.
For the power side of that routine, use our thermal battery-care and runtime guide. It covers approved batteries and charging considerations without assuming every device shares the same system.
Recognize the problems cleaning will not fix
| Observation | Sensible response |
|---|---|
| A smear visible on the external objective | Follow the approved cleaning sequence after dust removal |
| External condensation during a temperature change | Allow gradual acclimatization and natural drying |
| Persistent moisture behind a lens | Stop DIY treatment and ask for service advice |
| Uneven image despite clean external surfaces | Check focus, calibration and scene conditions |
| Damaged battery, corrosion or apparent fluid ingress | Disconnect from charging and seek model-specific support |
An image degraded by damp air is another separate issue. The fog, rain and humidity guide explains conditions along the viewing path that lens cleaning cannot remove.
Store it with the next outing in mind
Choose a clean, dry location away from strong heat and direct sunlight. Follow the manufacturer’s battery-removal or built-in-battery storage instructions, including any specified charge level and inspection interval. A generic percentage is not a replacement for that guidance.
Fit the clean caps, protect the ports and arrange the strap so hard fittings cannot rub optical surfaces. Maintain any desiccant according to its instructions and keep it from becoming loose debris. Do not use it as an excuse to close a wet case.
Copy important recordings before long storage. At the next pre-trip check, inspect the caps and contacts, confirm the controls work and make a short test observation. If you will use the device during the day, revisit the daylight handling precautions.
Care requirements are worth checking before purchase too. Our budget thermal monocular guide helps build a shortlist; add the availability of clear maintenance instructions, appropriate accessories and manufacturer support to your final comparison.

Elliot Vantage is an optics enthusiast and the editor behind Optic Horizon, covering monoculars, binoculars, thermal optics, and related outdoor gear. He researches manufacturer documentation, optical specifications, product features, pricing, and use-case differences to help readers understand their options and choose equipment that fits their needs.