
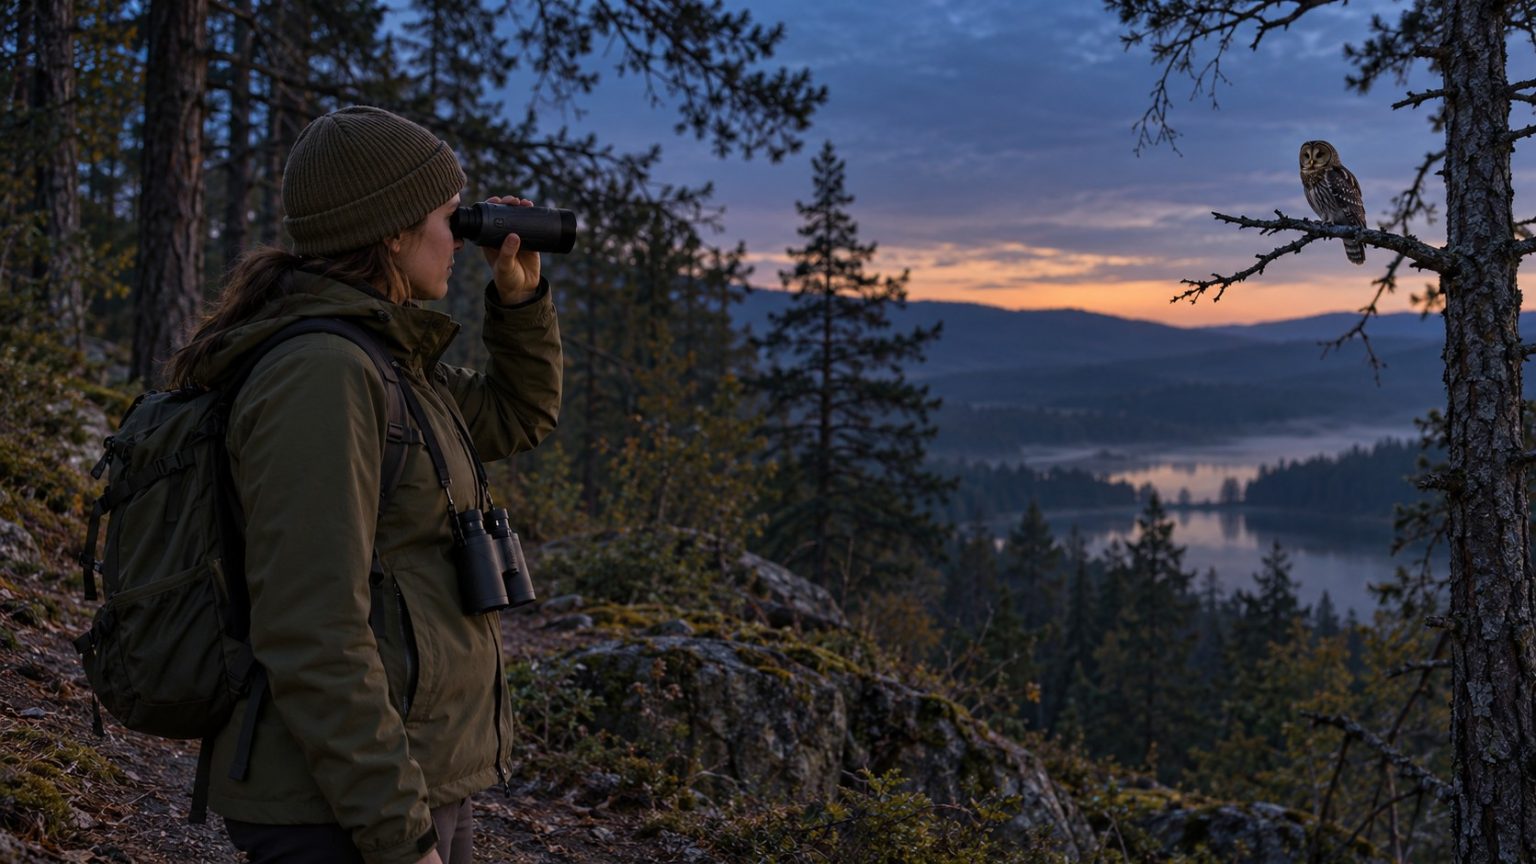
Learning how to use a thermal monocular for birding means separating two tasks: finding a possible bird and gathering enough evidence to identify it. Thermal can reveal a contrasting shape that is difficult to notice in available light, but a small thermal silhouette may lack the plumage, proportions or other details needed to confirm a species.
Use the monocular as part of an observation routine: search, examine, note the location and follow up with the most suitable visual or acoustic evidence. A confident label should come from the evidence you obtained, not from the fact that you found something warm.
If you are still choosing equipment, our thermal monoculars for birding guide compares viewing configurations and their compromises.
What thermal adds to a birding outing
Thermal imaging offers a different form of contrast from a conventional optical view. An exposed bird may stand out against its surroundings even when its visible colors are difficult to notice. It does not need an added visible spotlight simply to form a thermal image.
However, it does not show a natural-color view of plumage, and the image may contain too little information to distinguish similar species. A detected bird is an observation opportunity rather than an automatic identification.
The Cornell Lab describes a specialized project using thermal optics to help locate migrating birds before separate photographic documentation. That is a useful reminder that finding a subject and documenting its identifying features can involve different tools. A research team’s method is not a recommendation to illuminate or approach birds during ordinary outings.
Set up before the subject appears
Learn the controls in a suitable place where you can take your time. Check the exact model’s manual for eyepiece adjustment, objective focus, calibration and battery operation.
Prepare four things:
- A clear display. Adjust the eyepiece so menus or on-screen symbols look sharp.
- Appropriate scene focus. If the device has objective focusing, adjust it for the distance being observed.
- A simple starting view. Begin with the widest useful view and a familiar palette.
- An accessible carrying arrangement. Keep the thermal and conventional optics secure and easy to exchange.
Set screen brightness to a comfortable level rather than automatically using its maximum. Avoid spending the whole sighting navigating menus that you could have learned beforehand.
Start with habitat you can actually inspect
Thermal works with radiation that reaches the objective. A bird behind an opaque trunk or dense obstruction does not become fully visible because you point a thermal device at it.
Search exposed branches, gaps and accessible habitat edges from a position where observation is permitted. Keep your expectations tied to the line of sight.
FLIR’s explanation of what thermal imaging can and cannot see through is helpful here: thermal imaging does not simply look through wood or other opaque barriers. Ordinary window glass also prevents a normal outdoor thermal view through the pane.
If you are observing from a vehicle or hide, understand the opening and the device’s actual view. Do not interpret a thermal reflection in glass as a bird beyond it.
A repeatable search-and-follow-up routine
1. Stop and check your surroundings
Choose stable footing and a position that does not obstruct other people. Look at the immediate ground before raising the device. Keep awareness of paths, water, branches and access boundaries.
The magnified display shows only part of the environment. Lower it before moving to another position.
2. Search slowly with some overlap
Move through the scene in a deliberate pattern, pausing to inspect promising features. A little overlap between views reduces the chance of leaving an unexamined gap.
Do not begin at heavy digital enlargement. A wide starting view gives you more habitat and landmarks to work with. Our thermal field-of-view guide explains the coverage-versus-detail trade-off.
3. Examine a candidate without naming it immediately
Ask what the image actually supports. Is the feature stationary or moving? Does its outline change? Is it connected to a branch or partly hidden? Could a background feature account for the contrast?
A single bright patch is weak evidence. Several consistent observations may support a bird-shaped target, but species confirmation can still remain unavailable.
If your viewer marks the hottest spot automatically, learn how thermal monocular hot tracking works before relying on that cue to follow a possible bird.
4. Record a landmark before lowering the thermal
Note the branch junction, trunk shape or other fixed feature nearest the subject. Use more than a vague direction such as “somewhere in that tree.”
For example, “the short horizontal branch just below the fork on the left trunk” is a practical relocation note. It helps you return to the same position after switching optics.
5. Follow up with appropriate evidence
When sufficient light is available, binoculars or a spotting scope may reveal the visible field marks the thermal view lacks. Listening can also contribute information when the sound is confidently associated with the observed bird.
Do not attach a nearby call to a thermal shape automatically. More than one bird may be present, and the calling individual may be hidden elsewhere.
6. Keep the identification at the supported level
If the evidence supports only “unidentified bird,” record that. A partial observation still has value without being forced into a species name.
The ABA’s recording rules require sufficient diagnostic characteristics for species identification in the records governed by those rules. The broader lesson is useful anywhere: record what your evidence establishes.
Match the viewing configuration to the habitat
| Your main challenge | Feature to compare | Limitation to remember |
|---|---|---|
| Searching several nearby openings | Starting field of view | A broad view may place fewer pixels on a small subject |
| Inspecting a small exposed shape | Native sampling at the relevant distance | More enlargement cannot guarantee new information |
| Following up with binoculars | Useful surrounding landmarks and convenient carrying | A subject can move during the exchange |
| Observing nearby branches | Model-specific minimum focus | A device optimized for distant targets may not suit close work |
| Longer outings | Approved power options and realistic runtime | Maximum advertised runtime may not match your use |
Our thermal resolution explanation helps separate detector detail from the eyepiece display. A high-resolution screen cannot make a very small detector image contain plumage information that was not captured.
Choose settings for interpretation, not spectacle
White hot and black hot are useful starting palettes. FLIR explains how thermal palettes map signals to shades or colors. Changing the palette alters presentation; it does not turn a thermal recording into a natural-color photograph.
If you change settings, make one adjustment at a time and return to a familiar baseline when the result becomes harder to interpret. Very aggressive contrast or sharpening can make an outline look more definite than the underlying evidence warrants.
Record a short clip if the device supports it and doing so does not interfere with observation. A clip can preserve movement for later review, but it cannot recover missing detector information merely because the saved file has many output pixels.
Keep discovery from becoming disturbance
Thermal may make a bird easier to locate. That does not make closer approach appropriate.
The American Birding Association’s Code of Birding Ethics puts birds, habitat and respectful behavior at the center of observation. Apply that by maintaining distance, respecting access restrictions and avoiding repeated attention to nests and roosts.
If the bird changes behavior because of your presence, give it space. Do not pursue a clearer recording at the expense of the animal. Be careful when sharing precise locations of sensitive birds.
Common mistakes that reduce the value of thermal birding
- Staying zoomed in while searching. You may miss the landmarks and surrounding habitat needed for relocation.
- Calling every small warm shape a bird. Contrast alone does not establish the object type.
- Treating a familiar silhouette as a confirmed species. Several species can produce similar low-detail outlines.
- Moving closer to solve every uncertain view. The better response may be to leave the observation unresolved.
- Forgetting conventional optics. Thermal detection and visible-light examination often complement each other.
Frequently asked questions
Can a thermal monocular identify bird species?
It may contribute useful shape and movement information when conditions and sampling allow. Many observations will lack enough diagnostic detail. Confirmation may require a clearer conventional view, sound or other suitable evidence.
Does thermal work only at night?
No. Thermal imaging does not depend on darkness. Its usefulness depends on contrast, conditions and the exposed subject, so daytime observations can also be worthwhile.
Is more digital zoom better for birding?
Only if the presentation helps you inspect information already captured. Heavy enlargement can reduce context and make it harder to relocate a moving subject.
Should thermal replace binoculars?
For most birding routines, treat it as a complementary tool. Binoculars provide the visible-light view that many identifications require.
Make the follow-up part of the sighting
Search deliberately, use landmarks, and connect the thermal observation to the best available confirming evidence. The most useful skill is knowing both what you found and what remains uncertain.

Elliot Vantage is an optics enthusiast and the editor behind Optic Horizon, covering monoculars, binoculars, thermal optics, and related outdoor gear. He researches manufacturer documentation, optical specifications, product features, pricing, and use-case differences to help readers understand their options and choose equipment that fits their needs.