
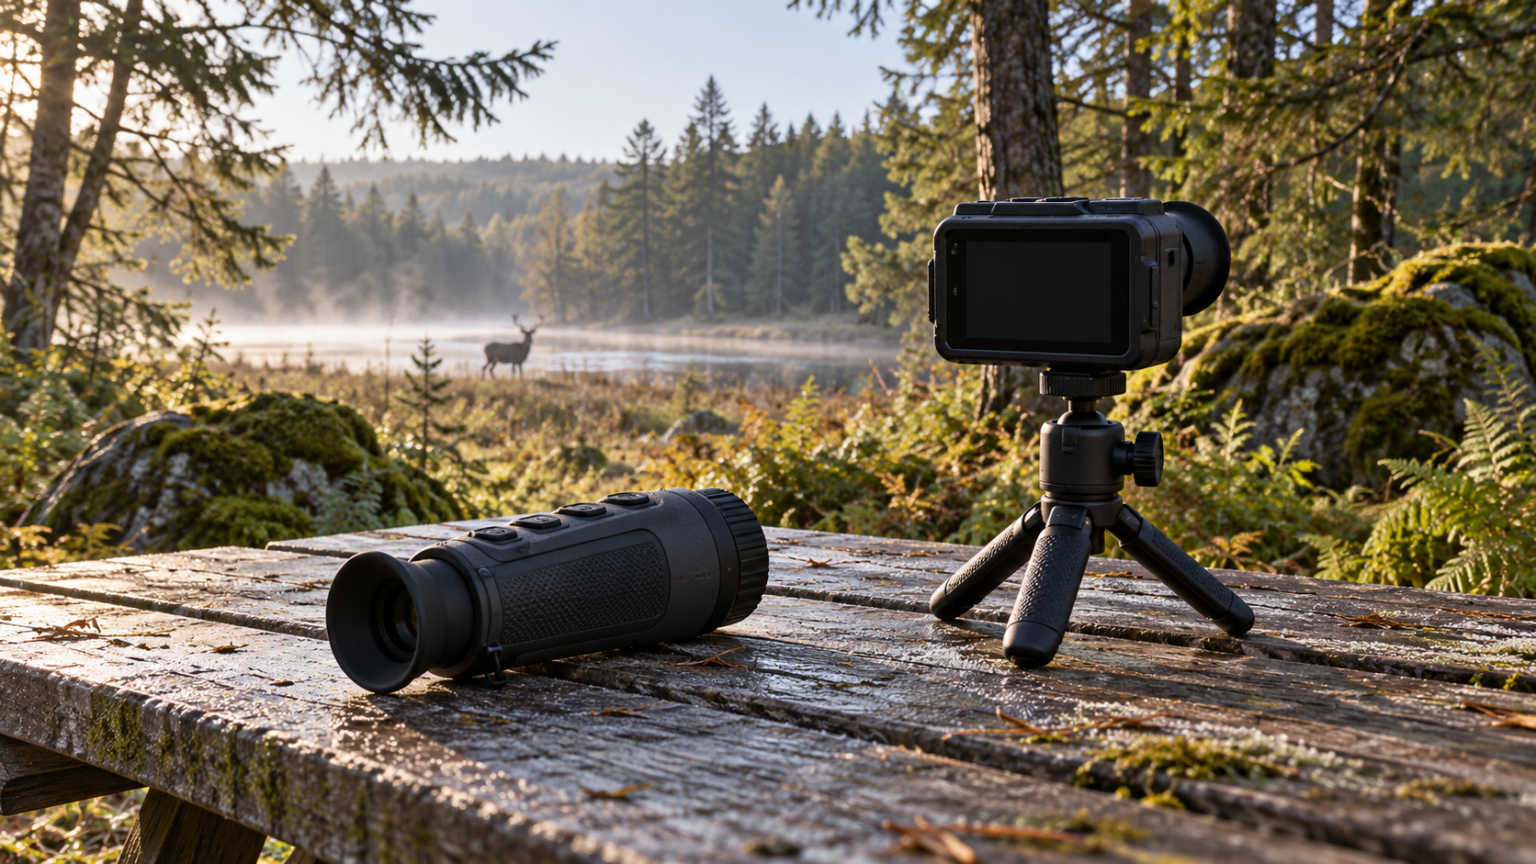
If you are comparing a thermal monocular vs thermal camera for wildlife, begin with the fact that a thermal monocular is itself a type of thermal camera. The useful comparison is usually between an eyepiece viewer designed for observation and a different format, such as a screen-based inspection camera or phone attachment. Their suitability depends on the optics, viewing method and intended task.
Choose around the animal and observation distance, then consider how you will find, watch and document it. Two products both described as “thermal” can be designed to solve very different problems.
The product category names overlap
An infrared detector, optics and processing can produce an image in several physical formats. A monocular adds a viewing arrangement for one eye; other cameras present the image on an exposed screen or a connected device.
FLIR’s Scout Pro product documentation describes an eyepiece-style thermal monocular within its camera range. That overlap is why “camera versus monocular” is not a comparison of two different sensing principles.
Our guide to how thermal monoculars work explains the shared imaging foundation. For this purchasing decision, focus on the differences that change how you observe wildlife.
Compare formats by their intended use
| Format | Typical design priority | What to establish for wildlife |
|---|---|---|
| Eyepiece thermal monocular | Handheld observation through a private viewing interface | Field of view, useful detail, close focus and eyepiece comfort |
| Screen-based inspection camera | Examining surfaces and, where specified, recording temperature-related information | Whether its focus, lens and update rate suit the target distance and movement |
| Phone-connected thermal camera | Using the phone as display, control interface and file destination | Exact phone compatibility, power needs, optics and handling |
| Fixed or remotely operated thermal camera | Watching a defined area from a mounted position | Mounting, power, weather limits and a suitable viewing direction |
These are typical roles, not absolute limits. Some equipment spans several tasks. Read the exact model documentation instead of assuming every exposed-screen camera is unsuitable outdoors or every monocular is ideal for every animal.
Field of view must match the scale of the task
A broad view can be useful when checking a nearby surface or searching a wide patch of habitat. It also spreads the available detector samples across more of the scene. A tiny distant bird may then occupy very few pixels.
That is why detector resolution and field of view belong together in the comparison. A large total pixel count is not enough if the animal remains a small unresolved mark. Conversely, an unnecessarily narrow view can make locating a nearby moving subject frustrating.
Use our thermal viewing-field guide to compare coverage, and the resolution explanation to separate captured detail from display enlargement. This applies across formats, not just between monocular models.
Minimum focus can reverse the obvious choice
A wildlife-oriented monocular may be comfortable for searching farther away while being unable to focus on something very close. An inspection camera may be designed around nearby surfaces. Neither description establishes the actual limit for a particular product.
Write your nearest important subject distance into the comparison before choosing. If you watch animals around a garden, check whether the equipment can focus where they normally appear. If you scan a distant edge, examine the useful image detail at that distance instead of prioritizing a close-up capability you rarely need.
Do not confuse a stated detection distance for a large reference target with a minimum focus distance or a small-bird identification distance. The thermal range guide explains those separate questions.
Decide whether you want an eyepiece or an exposed display
An eyepiece lets one person inspect the image while holding the device near the face. A screen can make it easier to show the same view to someone standing beside you. The practical choice depends on viewing position, light, glasses and how long you watch.
Try the real interface if possible. Check whether your ordinary eyewear fits, whether the controls remain accessible and whether holding the equipment in its normal viewing position feels sustainable. For a phone-connected camera, include the phone, case, cable and attachment in the trial.
Do not infer screen visibility from a brightly exposed promotional picture. An image of the screen on a website is not a test of how comfortable it will be at your observation point.
Update rate matters when the scene moves
Inspection and observation equipment need not share the same temporal specifications. For example, the FLIR C5 datasheet specifies an 8.7 Hz image frequency. That is a documented example from an inspection camera, not a rate shared by all screen-based cameras.
When following a moving animal or panning, check the live view and the manufacturer’s actual update-rate figure. Our thermal refresh-rate guide explains why a smoother stream and a more detailed image are separate benefits.
Also check whether a connected preview and a saved recording behave differently. A feature list saying “video” does not fully describe the capture and review workflow.
Temperature features do not settle wildlife identification
A radiometric camera may offer temperature-related measurements that an observation monocular does not provide. Those functions can be valuable for their specified inspection task, but they do not automatically help you identify a bird’s plumage or an uncertain animal silhouette.
An observation view still requires interpretation. Contrast, posture, movement and context can all matter, and the ordinary visible color of the subject is not supplied by the thermal palette. Use our thermal animal-interpretation guide when deciding what the observation supports.
Do not treat an observation image as a health diagnosis for wildlife. If a project requires quantitative measurements, it needs equipment and a method appropriate to that purpose, beyond choosing an attractive thermal picture.
Account for the complete field setup
A self-contained monocular, a phone-connected module and a fixed camera can require different power arrangements and accessories. Check approved batteries, charging, device compatibility, weather limits and storage requirements for the actual equipment combination.
For shared observations, decide how files will be transferred and who needs to see the live view. For a fixed setup, establish how the camera will be powered and recovered without disturbing the site. Avoid leaving location or mounting questions until after buying the device.
Choose the format that serves the observation
If your main task is mobile wildlife searching through an eyepiece, start with suitable thermal monoculars. If you need nearby surface examination, shared screen viewing or an installation at one position, investigate the corresponding camera formats without assuming their specifications transfer to distant wildlife.
Use the thermal selection checklist and budget thermal buying guide to build a task-based shortlist. For birds, also weigh thermal against conventional binoculars before deciding which extra view you need.
If an eyepiece format fits your task and you are comparing higher-resolution models, our Pulsar Axion XG30 Compact vs Nocpix Lumi H35 comparison shows how field of view and display choices still differ within the same broad detector class.

Elliot Vantage is an optics enthusiast and the editor behind Optic Horizon, covering monoculars, binoculars, thermal optics, and related outdoor gear. He researches manufacturer documentation, optical specifications, product features, pricing, and use-case differences to help readers understand their options and choose equipment that fits their needs.