
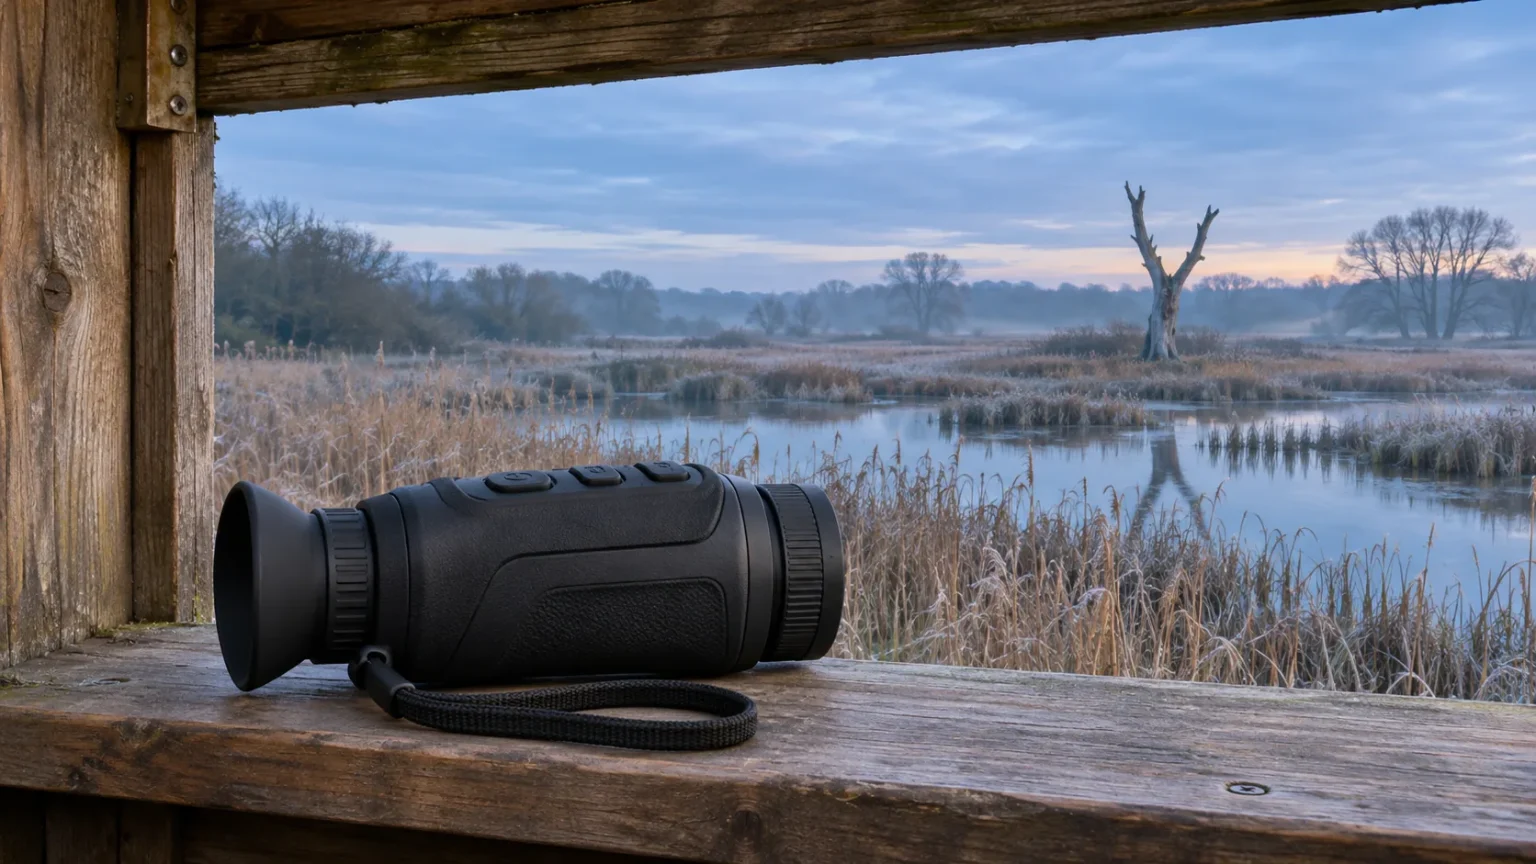
Thermal monocular picture-in-picture (PiP) lets you keep a wide view on the screen while examining a digitally enlarged portion in a smaller window. It is useful when you want to look at a detail without losing the branch, shoreline or gap that helped you find it. The inset shows another presentation of the same capture, so it cannot supply detail the detector did not record.
Read the two views for different jobs
Use the main view to find the subject and keep track of where it is. Use the inset for a brief look at an edge, an exposed part of a shape or a change in movement. If you spend the entire observation looking at the small window, you give up much of the benefit of keeping the wide scene visible.
Picture-in-picture is particularly useful when the alternative would be repeatedly zooming the entire screen in and out. It is less helpful when the inset covers a landmark you need, when you are sweeping quickly across open ground, or when the image is too soft for enlargement to make it easier to read. For the underlying coverage trade-off, see the thermal field-of-view guide.
Check what the zoom control changes on your model
On the Pulsar Axion Compact XG30, the manual says that with PiP enabled, digital zoom changes the inset while the rest of the screen stays at the model’s 2× base magnification. It also describes a detail that matters in the field: turning PiP off applies the magnification used in the inset to the full screen. If your view suddenly feels tight after exiting, check the magnification before searching again.
The HIKMICRO LYNX 2.0 manual also says digital zoom affects only the PiP view while the function is enabled. It describes an upper-center inset and a temporary zoom-ratio indication when you change the setting. Do not assume the Pulsar exit behavior applies to the LYNX 2.0, or that button sequences carry over to other generations. Keep the manual for your exact device open when learning the controls.
Try it first on a scene you can verify
Start from a stable, permitted observation point. Pick a stationary feature with an obvious edge, such as a fork in a tree near the distance you normally observe. Set the eyepiece and objective as appropriate and follow the device’s calibration instructions. If the image or menus are soft before you enable the inset, start with the thermal focus and calibration guide.
Find the feature in the wide view. Enable PiP and position the relevant edge in the area shown by the inset. Increase inset zoom by the smallest useful amount. Look back at the wide view and check whether the landmark is still easy to locate. Then turn PiP off and check what happens to full-screen magnification. Practice returning to a wide view without relying on memory of where the subject was.
This exercise tests how easily you can manage the controls and move your attention between views. It does not test identification range or establish how much detail the instrument resolves under other conditions.
Keep the main view when the subject moves
Imagine a small heat signature moving along the reeds. Use the broad scene to keep the reed edge and a distinctive snag visible. Briefly inspect the inset when the shape pauses in an opening. If it leaves the inset, look back at the main view before panning. The subject may still be visible there, even though it has left the enlarged portion.
If it disappears behind cover, check the last exposed location and wait for another clear view. The inset cannot see through vegetation or resolve a species merely because a silhouette looks larger. The thermal birding workflow explains how to relocate a possible bird and seek confirming evidence without moving closer just to improve the thermal view.
Know when to turn the inset off
Turn it off if it obscures part of the habitat you need to scan, if it makes you overcorrect when panning, or if the enlarged image adds no usable information. A bigger patch can remain just as ambiguous as a smaller one. The thermal monocular resolution guide explains the difference between detector samples and displayed pixels.
If a cue jumps between warm surfaces, check whether a separate hot-tracking marker is enabled. PiP enlarges an area of the view; hot tracking, where supported, marks a heat cue. If either overlay distracts you, return to a plain wide view and add one feature back at a time.
Decide how much the feature matters before buying
Compare the starting field of view first. A magnified inset cannot recover landscape outside the device’s captured scene. Then check whether you can change inset zoom without altering the main view, how much of the screen the inset covers, and what happens when you switch it off. Those questions are more useful than a simple yes or no in a specification table.
If you mostly scan quickly, a clear wide view may be all you need. If you often pause to inspect a detail and then resume searching, a usable inset can save you from switching the whole screen back and forth. When reading the budget thermal monocular comparison, weigh PiP alongside field of view, detector detail and handling. Its value comes from keeping the scene readable while you examine a part of it.

Elliot Vantage is an optics enthusiast and the editor behind Optic Horizon, covering monoculars, binoculars, thermal optics, and related outdoor gear. He researches manufacturer documentation, optical specifications, product features, pricing, and use-case differences to help readers understand their options and choose equipment that fits their needs.