
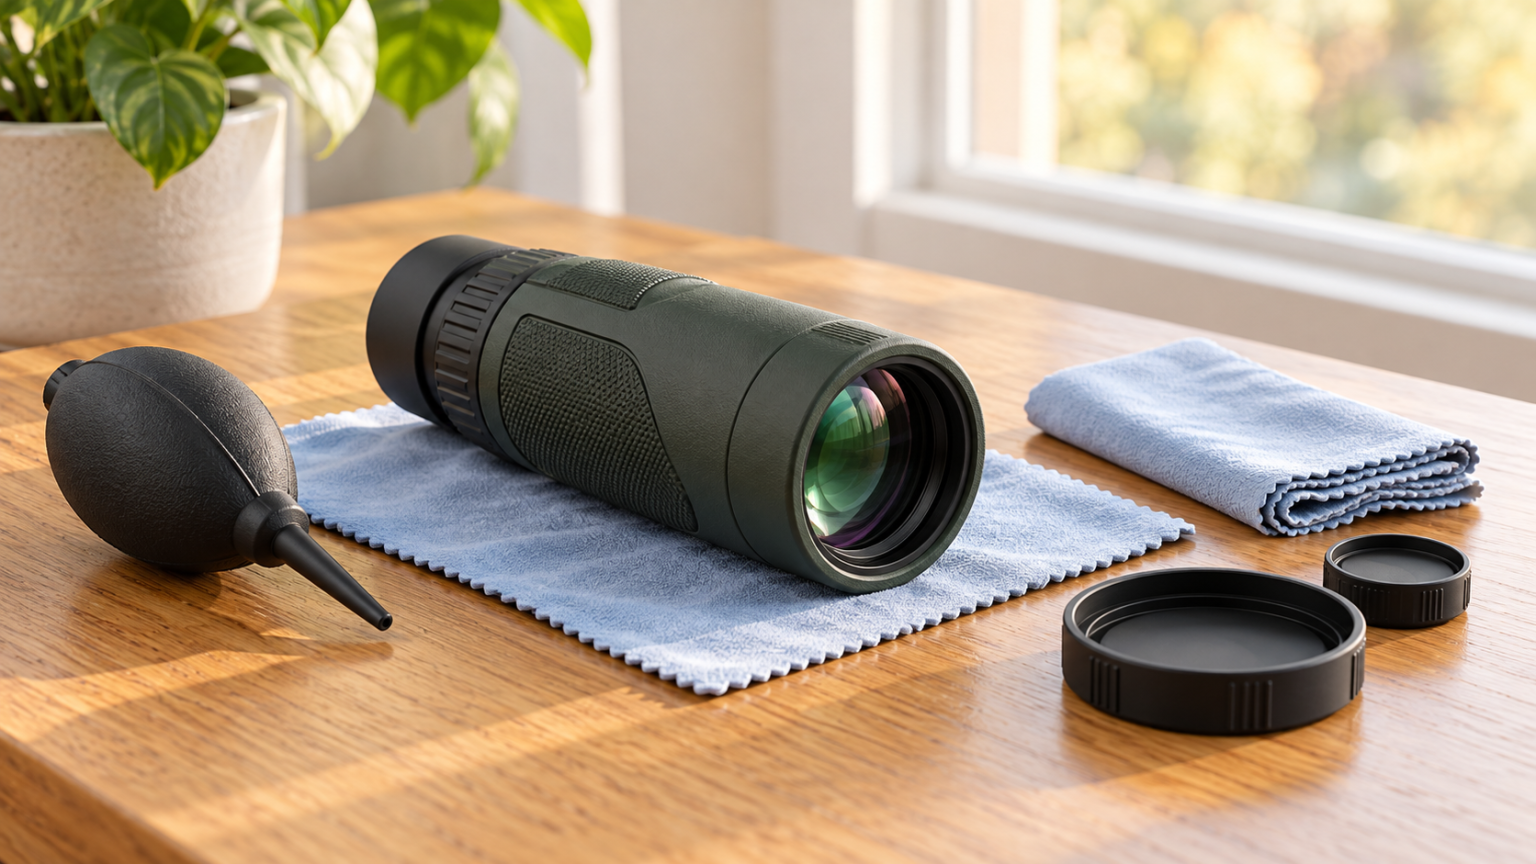
Knowing how to clean a monocular starts with a simple habit: remove loose grit before touching the glass. A dusty lens wiped with a shirt can become a scratched lens. Most routine care needs little more than a clean working area, a suitable blower, fresh lens-cleaning material and the cleaning instructions for your particular optic.
Clean when dirt, fingerprints or water marks interfere with the view, rather than polishing the lenses after every outing. Give equal attention to drying the body and case. An immaculate objective is little consolation if the monocular goes back into damp padding for a week.
Check the manual before choosing a cleaner
This guide concerns conventional visible-light monoculars. Thermal objectives can have different materials and coatings; use our separate guide to cleaning and storing a thermal monocular for that equipment.
Manufacturers do not all prescribe the same cleaning fluid. Nikon’s sports-optics care guidance emphasizes removing dust before wiping and gives cleaning advice for its products. Treat a maker’s solvent recommendation as advice for the equipment it covers, not permission to use the same liquid on every monocular.
Find the instructions for your exact model, including any restrictions on coatings, rubber surfaces and water exposure. If the manual is silent about a stubborn deposit, ask the manufacturer before escalating to a stronger cleaner. Household window sprays, furniture polish and improvised abrasive treatments are poor substitutes for an approved optical-cleaning method.
A small cleaning kit is enough
Keep the lens materials separate from the cloth used on the body. A cloth that has wiped mud from rubber armor should not return to the eyepiece.
- A clean manual air blower for loose particles.
- Lens tissue or a clean, soft optical microfiber cloth.
- A lens cleaner explicitly suitable for the monocular’s coated optics.
- A separate soft cloth for the housing, used as the manual permits.
- A clean pouch or container to keep the unused materials free of grit.
Inspect reusable microfiber before each use. If it has been dropped onto sandy ground, put it aside for proper cleaning rather than folding it over and hoping the grit has disappeared. Single-use lens tissue also needs to stay protected until it touches the lens.
Clean the lenses in this order
1. Work somewhere sheltered
Move out of blowing dust, secure the strap and put the monocular on a clean surface. Remove the caps carefully so debris trapped around their edges does not fall onto the lens. Check both the objective and eyepiece; a fingerprint on the eyepiece can be surprisingly distracting.
2. Remove loose particles without rubbing
Use a clean manual blower to dislodge loose dust, keeping its tip clear of the glass. Do not press grit across the coating with a cloth. If a particle remains stuck, avoid repeated dry wiping in the same spot.
A canned-air product is not interchangeable with a simple hand blower. Follow the optics manufacturer’s instructions before using pressurized products, which can introduce excessive force or unwanted spray. For an ordinary field kit, a manual blower is easier to control.
3. Treat the remaining mark gently
When the loose grit is gone, use the lens material and cleaner permitted by the manual. Where liquid cleaning is allowed, use a lightly moistened cleaning surface rather than flooding the eyepiece or letting fluid run toward seals. Apply very little pressure and move to a clean part of the tissue or cloth as it picks up dirt.
If the first gentle pass does not remove the mark, stop and reassess. More force is not the next cleaning stage. Dried salt, sticky plant residue and a damaged coating can look similar until examined carefully, but they call for different responses.
4. Inspect once, then stop
Look at the lens under ordinary angled light. Remove a remaining smear with fresh material if necessary, then put the clean caps back on once everything is dry. Avoid chasing every tiny reflection with repeated polishing.
If the view remains poor despite clean external lenses, check focus and eye position before blaming dirt. A blackout caused by eye alignment will not improve with cleaning.
Clean the body without moving dirt into the controls
Wipe the housing using the method allowed by the manual, keeping the lens cloth out of the process. Pay attention to the cap interiors, eyecup recesses and strap, where sand can collect and later migrate onto the glass.
Do not force a gritty focus ring through its travel or push a cloth into a narrow gap with a sharp tool. If a control grinds, sticks or has changed suddenly after a drop, describe the symptom to the maker’s service department. Opening the housing to “clean inside” risks turning a serviceable problem into damaged alignment or sealing.
Avoid spraying insect repellent, sunscreen or other chemicals over an exposed optic. Apply personal products away from it, then clean your hands before handling the eyepiece and focus controls.
What to do after a wet outing
First establish what water exposure the monocular is designed to tolerate. “Waterproof” is not a universal instruction to rinse an optic under a tap. Our guide to waterproof and fogproof monoculars explains why the exact claim matters.
Wipe away surface moisture as directed, open the empty carrying case and let its lining dry separately. Keep a wet strap from lying across a clean lens. Allow the monocular to dry naturally in a clean, ventilated place before closing it inside the case.
Use gentle room conditions rather than a heater, oven or hot vehicle. If a cold monocular develops condensation when brought indoors, give it time to reach room temperature. Repeatedly wiping a surface that keeps fogging does little until the temperature difference settles.
Persistent moisture behind an external lens, especially after immersion or impact, is a reason to contact service. Do not remove a lens retaining ring or attempt to replace the internal gas filling at home.
Match the response to the problem
| What you notice | Sensible first action | Avoid |
|---|---|---|
| Loose dust on an external lens | Use a clean blower before any wiping | Rubbing with a sleeve |
| A fingerprint after dust removal | Follow the approved lens-cleaning method | Flooding the lens with household spray |
| Moisture on the outside after coming indoors | Allow gradual acclimatization and natural drying | Applying strong heat |
| Fog that remains behind the glass | Ask the manufacturer about inspection | Opening the housing |
| A stiff or gritty focus control | Stop forcing it and seek model-specific advice | Adding oil or solvent to the mechanism |
Store it ready for the next trip
Choose a dry place away from strong heat and direct sunlight. Store the monocular with clean caps fitted and the strap arranged so hardware cannot rub the lenses. If you use a desiccant pack, maintain it according to its instructions; it cannot make a wet case into a suitable storage environment.
Before the next outing, check that the caps, strap attachments and focus control work normally. If you plan to attach a phone, do the adapter setup at home so tightening a clamp does not become a hurried job in the field.
When choosing a replacement, consider usable caps, accessible controls and appropriate weather protection alongside image quality. Our monoculars for hiking guide puts those practical features into the buying decision. Care works best when the optic is easy to protect between views.

Elliot Vantage is an optics enthusiast and the editor behind Optic Horizon, covering monoculars, binoculars, thermal optics, and related outdoor gear. He researches manufacturer documentation, optical specifications, product features, pricing, and use-case differences to help readers understand their options and choose equipment that fits their needs.