
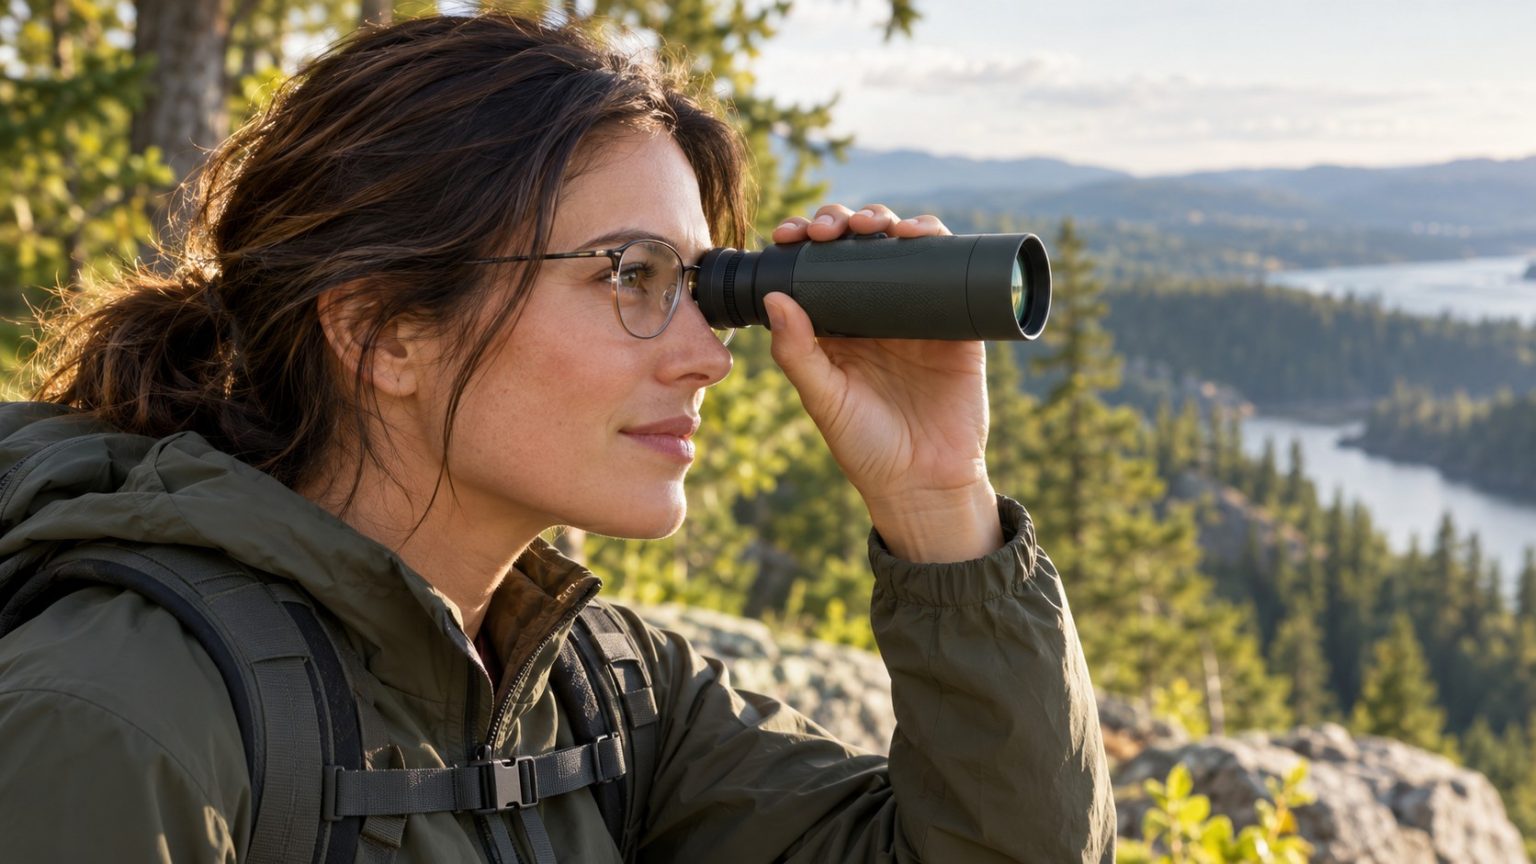
Using a monocular with glasses works well when the eyepiece gives your eye enough room to reach the intended viewing position. Usable eye relief and eyecup adjustment matter more than assuming every compact monocular will fit. If you see only the center of the image or keep getting blackouts, check positioning before deciding that the optics are poor.
Start with your normal distance-viewing glasses, lower the eyecup as the manufacturer directs, and center the monocular without pressing it into your lenses. The goal is a comfortable full field that you can find repeatedly.
Here is how to evaluate the fit, understand the specification and troubleshoot common problems.
What eye relief actually measures
Eye relief is the distance from the eyepiece lens to the position where your eye receives the intended view. Nikon describes the relationship between this position and seeing the full field in its eye-relief explanation.
Glasses hold your eye farther away. If the monocular’s useful viewing position falls too close to the eyepiece for your normal glasses, you may lose the outer part of the field.
That can be easy to miss. The central subject might still look sharp, so you may assume you are seeing everything the optic offers. Compare the visible field with careful positioning rather than judging by central sharpness alone.
Why a listed number cannot guarantee fit
Two monoculars with similar published eye relief can feel different. The quoted distance does not fully describe how your glasses, face and the eyepiece housing interact.
Relevant details include:
- How deeply the eyepiece lens sits inside the housing.
- How far the eyecup retracts.
- The shape and thickness of the glasses frame.
- How your glasses sit relative to your eye.
- Whether you can hold the monocular centered without pressure.
Nikon’s first-time selection guide suggests longer eye relief for glasses wearers and gives 15 mm as a useful starting reference for binocular selection. Treat that as a screening clue rather than a universal monocular pass mark.
The practical test is whether the exact eyepiece works with your normal setup. An appealing number should get a candidate onto the shortlist, not settle the purchase by itself.
Set the eyecup before adjusting everything else
Eyecups help establish the spacing between eye and eyepiece. Common arrangements include twist-up, sliding or fold-down designs, but not every monocular adjusts in the same way.
For glasses, the retracted or lowered position is usually the place to begin. Nikon’s eyecup setup instructions illustrate the general principle: glasses typically need less added eyecup spacing than unaided eyes.
Follow your monocular’s instructions and do not force an eyecup that does not move as expected. If several positions are provided, compare them gently rather than assuming the lowest setting is automatically perfect for everyone.
For an example of documented adjustability, Opticron’s T4 Trailfinder WP 8×25 page identifies a retractable eyecup and provides the model’s specifications. Check comparable information for any candidate you are considering.
A step-by-step fitting routine
1. Use the glasses you normally wear outdoors
Testing with one pair and using another can change the fit. Include prescription sunglasses if they are part of your normal routine.
Clean both your glasses and the eyepiece using the appropriate care instructions. A smudge can complicate an otherwise straightforward positioning check.
2. Pick a safe, stationary subject
Stand or sit securely and choose a distant feature with enough detail to focus on. Avoid looking toward the sun or any intense light source through the optic.
You are checking fit, so there is no need to begin with a moving bird.
3. Lower the eyecup and bring the monocular toward your viewing eye
Keep the optical axis approximately aligned with the center of the eye. Approach slowly until the view opens up, without pushing your glasses against your face.
Small changes in distance and angle can matter. If the image disappears, back away slightly and recenter before changing the focus control.
4. Focus after the view is comfortably positioned
Once the circular view is stable, focus on the subject. Focus changes scene sharpness; it does not solve every spacing problem between the eyepiece and your eye.
If an image is sharp only while you press hard against your glasses, the fit still deserves attention.
5. Look for the complete field
Check whether the edges are visible and reasonably consistent as you relax your grip. You should not need to search continuously for a tiny position where the view briefly works.
A little movement can cause occasional interruptions with many optics, but persistent difficulty is useful information about compatibility.
6. Repeat the movement several times
Lower the monocular, look at the subject unaided, then raise it again. A good fit should be reasonably repeatable.
This is especially important for wildlife. A viewing position you can find only after prolonged adjustment may cause you to miss short sightings.
Troubleshooting the most common problems
| What you notice | Possible explanation | What to try |
|---|---|---|
| Sharp center but reduced field | Your eye may be too far from the intended position | Retract the eyecup, recenter and check without pressing the glasses inward |
| View intermittently goes black | Distance, angle or lateral position may be changing | Hold more gently, back away slightly and align again |
| One edge disappears first | The monocular may be off-center or tilted | Straighten the optic relative to your viewing eye |
| Blurry subject across the view | Scene focus or dirty optical surfaces may be involved | Check focus and inspect the relevant surfaces |
| Eyepiece or glasses feel uncomfortable | Pressure or poor housing/frame compatibility | Stop pressing and compare another fit or model |
| View works at home but poorly outdoors | Different glasses, grip or viewing routine may be involved | Repeat the test with the exact equipment and carrying setup you use outside |
These are possible causes rather than diagnoses of every device. If correct positioning never produces a satisfactory view, compare another monocular or ask the manufacturer about the eyepiece design.
Do not let magnification distract from fit
An 8× model is not automatically better for glasses than a 10× model. The exact eyepiece matters. You may find a lower-powered option easier to hold, yet a different higher-powered model may have more suitable usable eye relief.
Evaluate comfort and magnification separately. Our 8× versus 10× monocular comparison covers image size and steadiness, while our general selection guide puts eye relief alongside close focus, field of view and carrying size.
What to check before buying online
Look for a model-specific eye-relief figure and clear eyecup information. Product photos may help show the eyepiece shape, but cannot establish fit on their own.
Ask these questions if the listing is unclear:
- Does the specification apply to this exact magnification and version?
- Does the eyecup retract, slide or fold, and what does the manual recommend for glasses?
- Can I try it with my usual glasses or return it under suitable terms if the fit is poor?
Our hiking monocular comparison includes eye relief alongside other outdoor-use specifications. If price is the main constraint, compare the exact candidates in monoculars under $100 without assuming that affordability determines eyepiece comfort.
Frequently asked questions
Should the eyecup be up or down with glasses?
Usually, start with it down or retracted, following the model’s instructions. Glasses already create space between eye and eyepiece. If intermediate positions are available, compare them for a comfortable full field.
How much eye relief do I need?
There is no single guaranteed number. Longer stated eye relief is a useful starting point, but usable distance, glasses position and housing shape determine the actual fit. Try the exact model when possible.
Why do I get blackouts even with long eye relief?
Long eye relief does not eliminate alignment requirements. Your eye may be too close, too far away, off-center or tilted relative to the eyepiece. Recheck the position before changing focus.
Does turning the focus replace wearing glasses?
Do not assume it replaces your normal vision correction. Begin by fitting the monocular with the glasses you ordinarily use for distance viewing. Focus and comfortable eye position are separate adjustments.
Is a thermal monocular the same to fit?
It also needs comfortable eye positioning, but you are looking at an electronic display through an eyepiece. Follow the device’s separate instructions for eyepiece and scene focus rather than assuming every conventional-optics adjustment transfers directly.
Choose a fit you can find easily
The best monocular for glasses is one you can position comfortably, see fully and raise repeatedly without fuss. Use the published eye relief to shortlist candidates, then let the actual view decide.

Elliot Vantage is an optics enthusiast and the editor behind Optic Horizon, covering monoculars, binoculars, thermal optics, and related outdoor gear. He researches manufacturer documentation, optical specifications, product features, pricing, and use-case differences to help readers understand their options and choose equipment that fits their needs.