
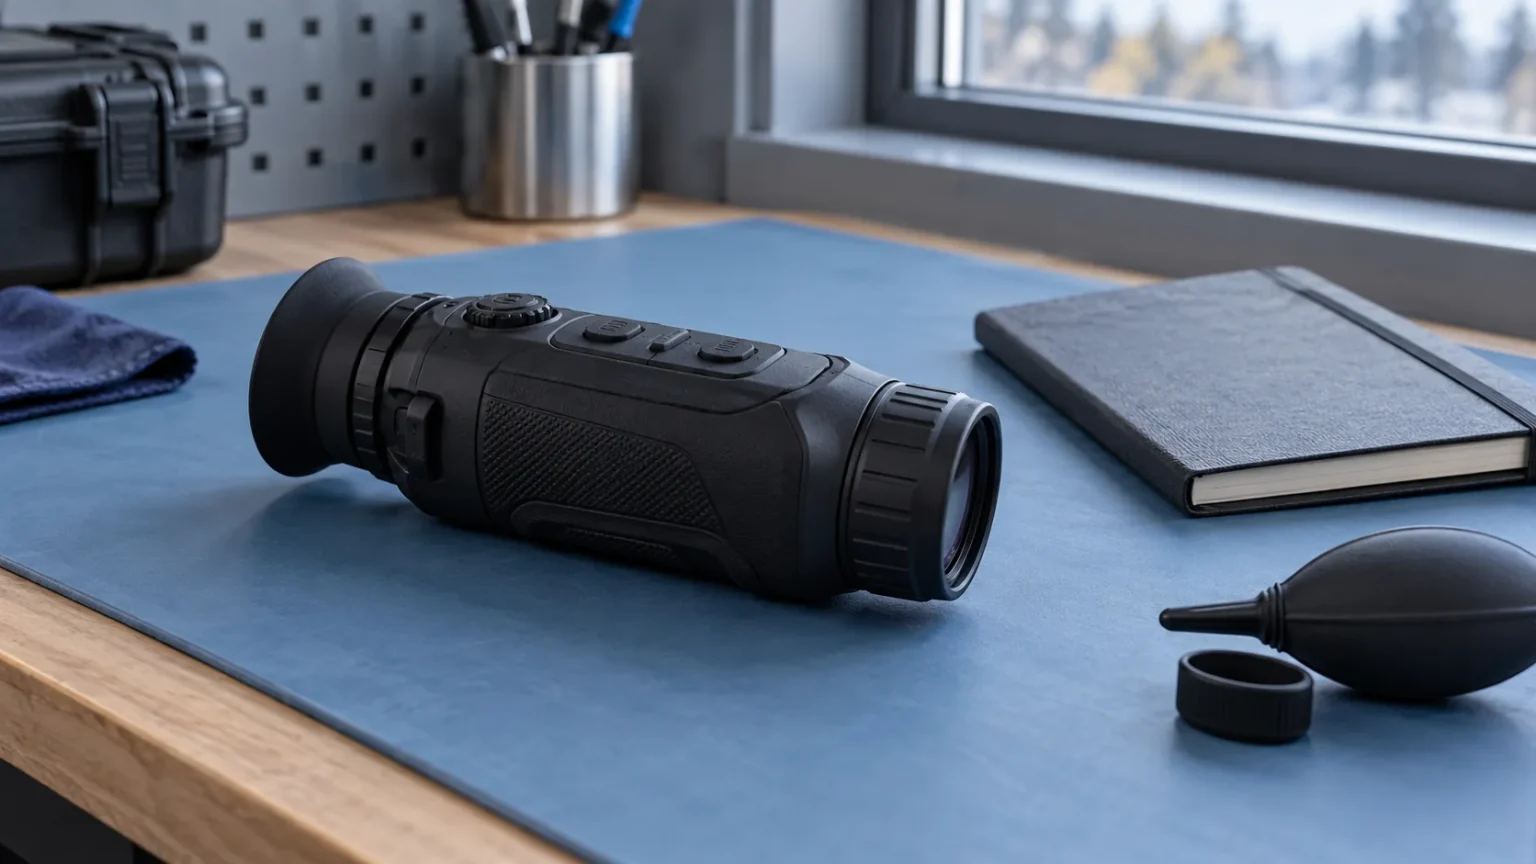
Thermal monocular dead pixel correction is a model-specific tool for dealing with certain persistent points in the image. Before using it, establish what you are seeing: a spot tied to the scene, an on-screen marker, an uneven image that needs calibration, or a fixed point that deserves the manufacturer’s pixel-correction procedure. The wrong adjustment can waste time without addressing the cause.
This guide explains a cautious observation and documentation workflow, with examples from Pulsar and HIKMICRO manuals. It does not diagnose a particular instrument remotely or promise that every bright dot can be removed. A menu called repair usually describes a firmware function, not a physical repair to the detector or display.
Start with a repeatable observation
Stop walking and choose an ordinary stationary scene with enough contrast to recognize landmarks. Keep away from the sun, lasers and other intense sources prohibited by the device manual. Do not deliberately expose the detector to a strong source to test whether a spot changes.
Note where the point appears relative to the edge of the displayed image. Then pan gently across a different part of the same scene. A point that stays in one screen position warrants a different investigation from a small warm feature that moves across the image with a branch, roof or animal.
This observation is a useful sorting step, not proof of a defective detector element. Interface symbols and some display-related points can also stay fixed. Avoid naming the component that has failed until the evidence or manufacturer support establishes it.
Separate a fixed point from blur and calibration
If the whole scene is soft, begin with the thermal monocular focus and calibration guide. Eyepiece adjustment, objective focus and non-uniformity correction address different tasks. A pixel-correction menu should not be the first response to a generally disappointing image.
For residual patterns or an uneven background, follow the exact calibration instructions for the model and selected mode. Do not borrow a lens-cover sequence from another device. After the normal procedure finishes, repeat the observation before deciding a fixed point remains.
Also check whether a tracking marker, aiming aid, picture-in-picture border or another enabled overlay explains what you see. Consult the interface illustrations in the manual. A small symbol that was unfamiliar yesterday may simply be a setting you turned on.
What the Pulsar example actually establishes
The Pulsar Axion Compact XG30 manual provides a dedicated Defective Pixel Repair function. Its workflow aligns a movable marker with the point, uses a magnified region to help placement and confirms a successful correction with an on-screen message. It also describes restoring the default pixel map.
That manual separately notes that one or two bright white or colored display points may be non-removable and not classified as a defect. This is a specific manufacturer qualification for the documented product. It should not become a universal tolerance rule for all thermal viewers or a reason to dismiss a new symptom on another model.
Use the current instructions for your exact variant before pressing a confirmation control. Identifying a correction feature in a related manual does not establish that the same buttons, map-restoration behavior or display qualification apply to your viewer.
How the HIKMICRO example differs
The HIKMICRO LYNX S and LYNX Pro manual, section 3.12, describes defective pixel correction using X and Y coordinates. The user positions the cursor at the point and follows the specified correction and save sequence. Its interface can magnify the selected location, and it describes how the display behaves when an overlay obstructs that location.
The important comparison is the operating workflow: these manufacturers document their own selection, confirmation and exit steps. Neither example supports a single generic button sequence for every monocular. Keep the correct manual open and match its control symbols to the device in your hand.
A manual revision is also not a claim that its firmware is the newest release. If menus differ, check the current support documentation and installed version. Our firmware-update guide explains how to identify an applicable update without substituting another model’s package.
Prepare before changing the pixel map
Make a short note of the complete model, installed firmware, approximate point location and the conditions in which it appears. Record whether it persists after the approved calibration procedure and whether it stays fixed as the scene moves. This gives you a baseline for judging the result.
If the device supports recording or snapshots, save an example using its documented method. Keep an untouched original and describe any crop or enlargement used when sharing it. Do not assume that the saved file reproduces every feature visible through the eyepiece: the recording and display paths can differ.
Avoid beginning a correction while standing on uneven ground, wearing gloves that make precise selection difficult or rushing to follow wildlife. A deliberate setup at a safe stationary position is better suited to placing a cursor accurately.
Use correction only for the point you intended
Enter the documented correction menu and identify its selection marker. Before confirming anything, check that the marker covers the persistent point rather than a nearby scene feature or interface symbol. If the view is moving too much to be confident, stop and stabilize the instrument.
Follow the model’s confirmation and save instructions. Do not repeatedly select neighboring locations simply because the first attempt did not produce the result you expected. A growing set of uncertain changes makes it harder to explain the original symptom to support.
If you select the wrong position, use only a documented undo or map-restoration route. A factory reset, firmware installation and default pixel-map restoration are different operations; do not assume one reverses the other. Ask the manufacturer when its instructions do not establish the recovery method.
Check the result in more than one scene
Return to the normal viewing screen and repeat the same simple observation. Check the original location while gently changing the scene. Then inspect a second ordinary scene so that a distracting background does not hide the result.
Compare like with like: keep the usual palette and zoom setting during the first check. Changing several image-processing controls at once makes it difficult to know what caused a difference. The white hot and black hot guide explains how palettes change presentation without creating new scene information.
Write down whether the original point disappeared, remained or changed in a way you cannot interpret. A successful menu message is useful, but the ownership task is to establish whether the symptom that concerned you has actually been addressed.
When to contact the manufacturer
Contact support if the point cannot be selected reliably, the correction procedure does not behave as documented, or the image shows new clusters, lines or other persistent artifacts. Do the same if the symptom follows a drop, liquid exposure or another incident. Do not open the housing or attempt an internal cleaning or electronic repair.
Send the model and firmware details, the original observation notes and any useful unedited recording. Explain what you changed, including any attempted correction or map restoration. Describe the symptom neutrally rather than declaring that the detector or screen is defective.
Ask how the manufacturer classifies the symptom for that exact unit and what its service or warranty process requires. A tolerance statement in one product’s manual is not a warranty decision for another product, and a correction function is not a guarantee that service will never be needed.
What pixel correction does not upgrade
Removing a distracting point should not be confused with increasing useful subject detail. Detector resolution, field of view and viewing conditions still shape what the monocular can show. Our thermal resolution explanation separates captured information from display resolution and digital enlargement.
If your main problem is that distant subjects occupy too few pixels, a correction menu is not the answer. Likewise, it does not remove intervening branches or recover every detail lost in poor conditions. Keep the symptom-specific task separate from deciding whether a different configuration would suit your observation.
When comparing budget thermal monoculars, include access to a clear manual and responsive service alongside the headline specifications. Knowing how a manufacturer expects you to document and resolve image artifacts is a useful part of ownership.
A practical stopping point
Work through the checks once in a controlled way: observe the point, distinguish it from focus or calibration issues, consult the exact manual, make only a justified correction and verify the outcome. If uncertainty remains, preserve the evidence and use manufacturer support instead of accumulating unexplained changes.
The aim is a dependable view and a clear account of what happened. That is more useful than treating every bright point as a hardware failure—or assuming every point can be hidden successfully with a menu.

Elliot Vantage is an optics enthusiast and the editor behind Optic Horizon, covering monoculars, binoculars, thermal optics, and related outdoor gear. He researches manufacturer documentation, optical specifications, product features, pricing, and use-case differences to help readers understand their options and choose equipment that fits their needs.