
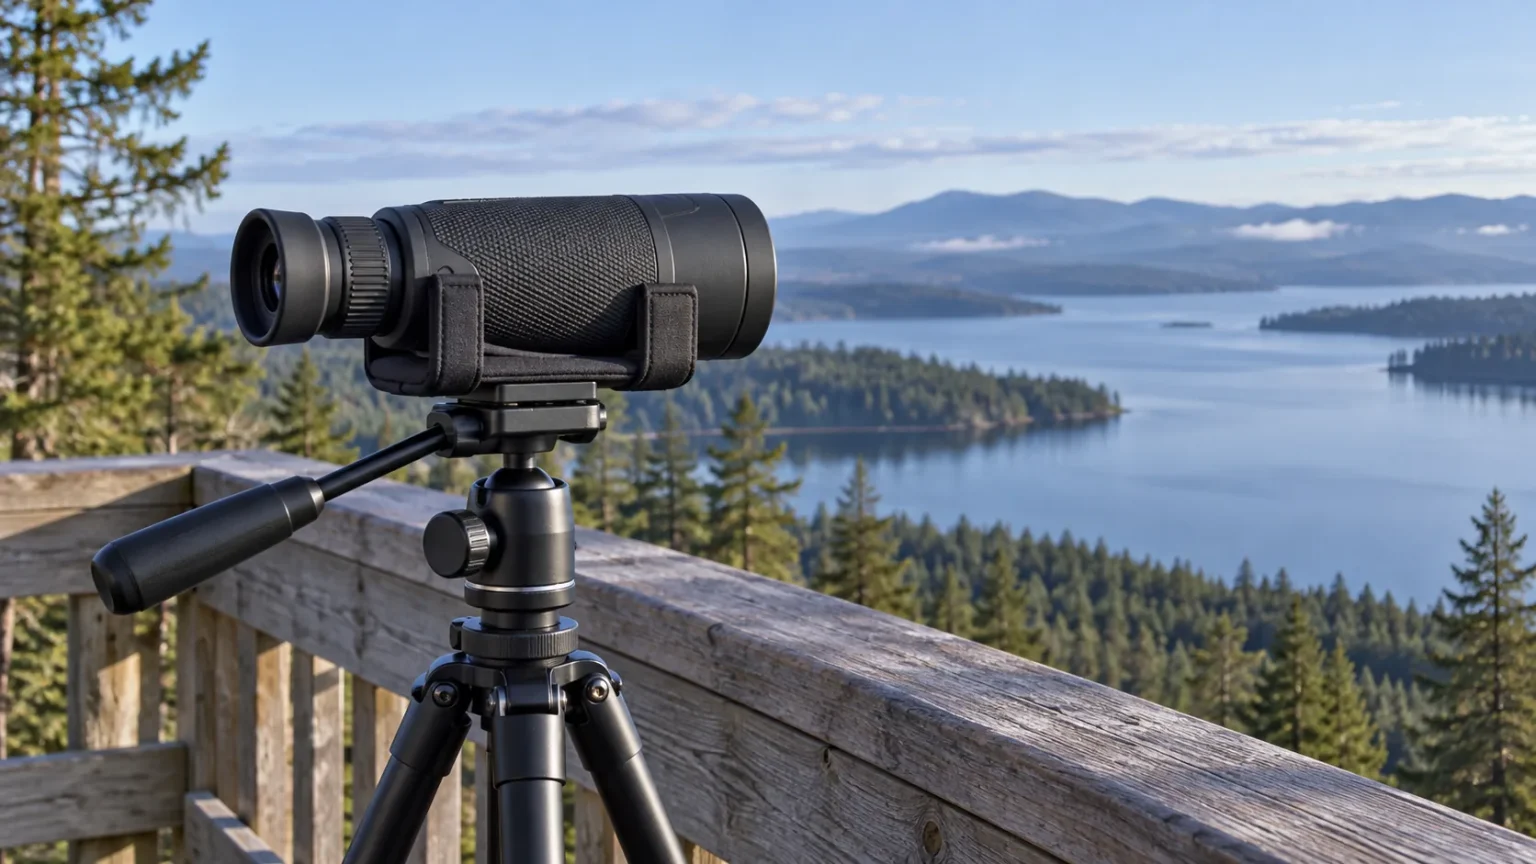
Learning how to mount a monocular on a tripod starts with checking the exact optic, not buying the first adapter with a matching screw. A stable support can make a long stationary observation easier, but only when the mount fits the housing, leaves the controls accessible and connects securely to the tripod head.
This guide covers conventional optical monoculars. Its purpose is to help you identify the mounting route, check compatibility and build a repeatable setup. It is a documentation-based guide rather than a hands-on comparison of adapters.
Does your monocular support a tripod?
Look in the manual and the manufacturer’s accessory list for your complete model name. There are three possible starting points: a documented mounting socket, a dedicated adapter that grips a specified part of the housing, or no documented mounting provision. Do not treat a strap attachment, removable cap or exposed screw as a tripod connection.
A dedicated mount is not necessarily interchangeable with another accessory from the same brand. Objective size describes the optic, while a clamp must fit the actual exterior housing. The rubber covering, shape and location of the focus control also matter.
For a useful example, Opticron lists mount 30809 for Explorer WA ED-R 32mm monoculars. The separate 30808 mount is specified for Explorer WA ED-R 42mm monoculars. These are different mounting products; the shared series name is not a reason to swap them.
Check the entire connection, not just the thread
Think of the assembly as a chain: monocular, adapter, mounting plate, head and tripod legs. A secure connection at one point does not establish that the others are compatible. Check each interface before placing the optic above the ground.
The Opticron 30807 mount for DBA VHD+ monoculars illustrates another model-specific design. The manufacturer describes attachment over the objective housing and quarter-inch threaded connections to a support. Those details belong to that accessory; they are not permission to tighten an arbitrary clamp around another monocular.
When a manufacturer states a thread size, check the mating plate’s specification too. Do not force a screw that starts at an angle or assume that a screw which turns once has the correct thread and usable length. Follow the accessory instructions for tightening and any supplied washers or spacers.
Choose a setup that suits the observation
A tripod makes most sense when you will remain in one position: watching a distant shoreline, returning to the same nest-free woodland opening, or examining a fixed landscape feature. It is less convenient when a short look is followed by another stretch of walking. Include the adapter, head and legs in the carried weight before deciding that support belongs in your hiking kit.
Our monoculars for hiking guide considers portability and outdoor handling. Treat mounting support as an additional requirement, rather than assuming every compact recommendation accepts the same adapter.
The tripod head also needs to move smoothly enough for your subject. A locked head suits a fixed view. For following slow movement, practice controlled adjustments before relying on the setup outdoors. Avoid leaving the head so loose that the optic can tip when you release it.
Set up the support before attaching the optic
Choose firm ground and spread the legs according to the tripod instructions. Check that the feet cannot slide and that the assembly does not obstruct a path. A railing or viewing platform may transmit movement from other people, so check the view after anyone nearby moves.
Set the eyepiece at a height you can reach without leaning against the tripod. Your forehead or glasses touching the optic may transmit movement. A seated position can be practical for a long observation, provided you can comfortably reach the focus and head controls.
Keep the monocular in its case or in your hand while arranging the empty support. Position the head and plate first. This separates the task of securing the equipment from the task of making the tripod comfortable.
Attach, check and then release your hand
Fit the approved adapter in the location specified by its manufacturer. Keep it clear of moving controls, lens caps and the optical opening. Tighten only as directed; additional force is not a substitute for correct fit.
Connect the mounting plate to the head and engage its locking mechanism. Keep a supporting hand under the monocular while checking for rotation or sliding. If the accessory uses a release latch, identify it before use so you do not confuse it with a panning control.
Only release your hand when the assembly holds its position. If the optic moves inside the adapter, stop and check the model compatibility and installation. Do not keep increasing clamp pressure in an attempt to make an unsuitable mount fit.
Focus without disturbing the view
Aim at an ordinary stationary landmark and settle the head before judging sharpness. Adjust eye position and focus gently, then remove your hand and see whether the view settles. If touching the focus control changes the aim, check the connection and your technique before blaming the optics.
The monocular usage guide covers finding the subject and setting your eye position. Mounting does not replace those skills. If the edge of the view blacks out, the eye-relief and eyecup guide can help you investigate alignment.
Support can reduce movement from holding the instrument, but it does not change its magnification, minimum focus or optical resolution. Nor does it guarantee a clear view through heat shimmer, dirty glass or intervening vegetation. Compare a suitable stationary feature before concluding that a disappointing result requires a new monocular.
Troubleshoot movement in a useful order
If the whole assembly sways, inspect the feet, ground and tripod configuration. If the head moves while the legs remain still, check the head’s locking and friction controls. If only the monocular shifts, inspect the plate and adapter. Work from the ground upward, changing one thing at a time.
A short pause after adjusting focus helps separate vibration from optical softness. If the view is steady but still blurred, return to focus and viewing conditions. If it is sharp between movements, investigate support rather than repeatedly changing focus.
For moving wildlife, start with enough surrounding scene to keep track of the subject. Our field-of-view explanation covers why a narrow view can make searching harder. A tripod does not automatically make a moving subject easier to acquire.
Pack away without stressing the mount
Support the monocular before releasing the plate or adapter. Put the optic somewhere secure before collapsing the legs. Unless the equipment instructions explicitly allow another arrangement, detach it for transport rather than carrying a deployed tripod with the monocular swinging at the top.
Check for grit and moisture before packing the accessory against the optic. Follow the care instructions for both pieces. Our monocular cleaning and storage guide covers the optical-care part without treating the mounting hardware as a lens-cleaning tool.
Questions to resolve before ordering
Ask the manufacturer or seller which exact monocular models the accessory fits, which part of the housing it secures, what connection reaches the tripod head and whether any additional plate is required. If the answer only repeats the objective diameter, ask for the actual compatibility list.
You do not need a tripod for every monocular outing. Begin with the task, confirm a supported mounting route, and check the complete assembly at home. A compatible setup that you can attach, adjust and remove confidently is more useful than an impressive accessory specification without a verified fit.

Elliot Vantage is an optics enthusiast and the editor behind Optic Horizon, covering monoculars, binoculars, thermal optics, and related outdoor gear. He researches manufacturer documentation, optical specifications, product features, pricing, and use-case differences to help readers understand their options and choose equipment that fits their needs.